Analog Horror Video Effects: A Beginner's Guide
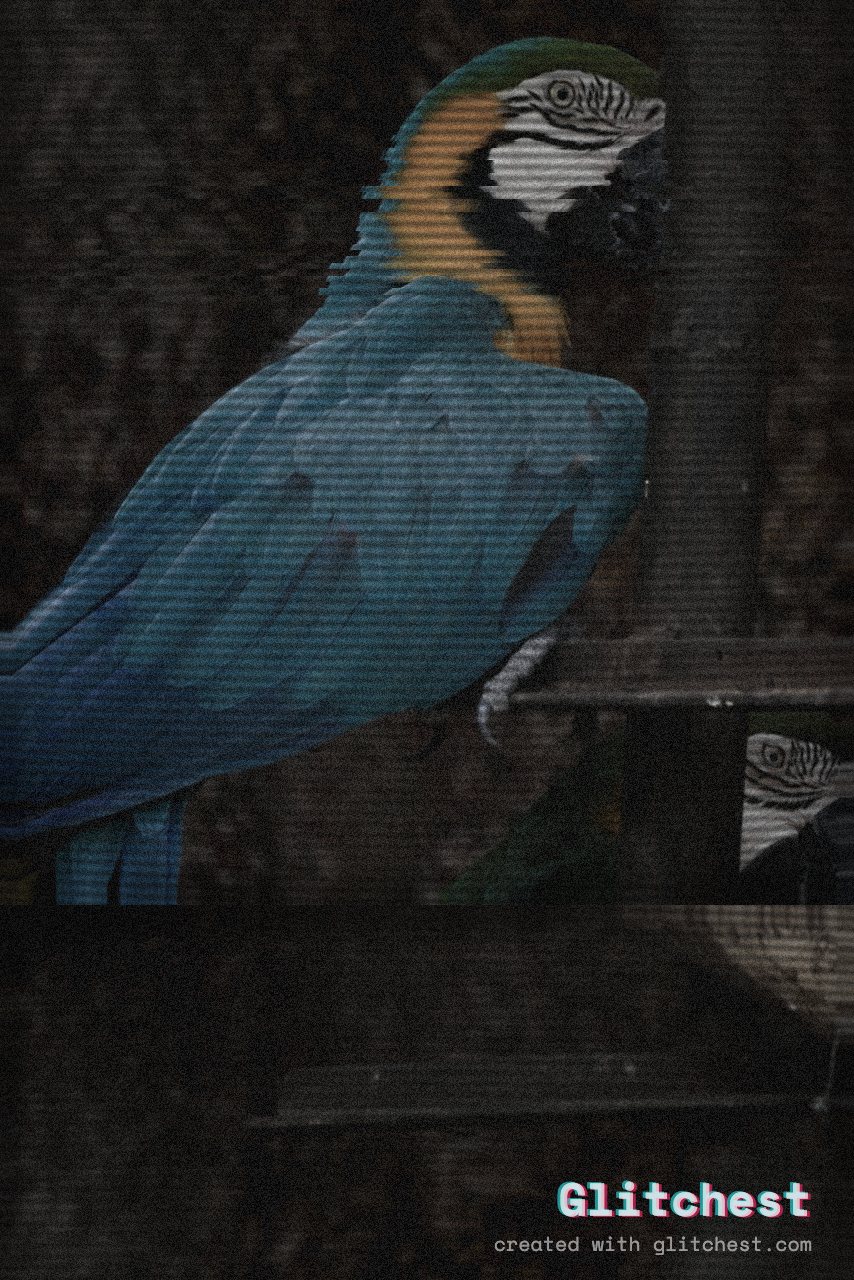
Analog horror borrows its dread from a machine that no longer works properly. A tape that should play cleanly instead rolls, tears, and drops out — and the footage underneath feels like something you were never meant to see. This guide breaks down the effects that define the genre and shows a practical way to build them in your browser, free and with no upload.
Why the analog look unsettles us
The core trick of analog horror is misdirection through decay. A clean, stable image reads as safe and authored — someone is in control of what you see. The moment the picture starts to fail, that control slips. Rolling static, warped sync and sudden dropouts suggest the recording itself is fighting to reach you, and your brain fills the damaged gaps with worst-case guesses.
It also leans on nostalgia. Many viewers associate tape artifacts with old home movies and late-night broadcasts, so the format feels intimate and real. Turning that familiar texture against the viewer is what makes the genre land. You are not watching a polished film; you are watching a document that is rotting in front of you.
The signature effects
A convincing analog horror piece usually combines several failures at once. None of them is complicated on its own — the effect comes from stacking them.
- Tape degradation (tape rot): smeared color, bleeding edges and a soft, chewed-up quality, as if the tape has been played a thousand times.
- Tracking errors: horizontal bands that wobble and jump, the classic sign of a VCR losing its grip on the signal.
- Signal loss: the image collapsing toward noise, then snapping back — a threat that the picture might vanish entirely.
- Rolling static: a bar of interference that crawls up or down the frame, refusing to sit still.
- Dropouts: brief flashes of white specks, torn lines or full black frames where information is simply missing.
- Unsettling audio hints: a low hum, a hiss that swells, or a half-second of tone right as the picture breaks. Even a suggestion of bad audio makes the visuals read as more broken.
If you want to understand the underlying image corruption more deeply, our explainer on what datamosh is covers how frames bleed and smear when data goes wrong — the same principle drives a lot of the tape-rot look.
A Glitchest workflow, start to finish
Glitchest runs entirely in the browser. There is no upload, no account, so nothing you drop in leaves your machine. Here is a reliable order of operations.
- Open the editor and load your clip. Short footage works best — analog horror lives in tension, not length.
- Start from a preset. Choose Signal Jam for aggressive, jammed-broadcast chaos, or Dead Channel for the emptier, static-filled look of a channel with nothing on it. Presets give you a coherent base to push from instead of a blank slate.
- Push noise, dropouts and sync. Raise the noise until the grain feels heavy but the subject is still readable. Add dropouts for the torn-line flashes, and nudge the sync instability so the frame wobbles and rolls rather than sitting locked and clean.
- Place effect boxes for signal-loss moments. This is where the piece comes alive. Add short effect boxes with little or no fade at the beats where you want the image to collapse into static, then recover. A constant, full-length effect reads as texture; a short box that snaps on and off at one exact moment reads as an event.
- Mask if you need to. Use masking to keep a face or object relatively stable while everything around it disintegrates — the contrast makes the clean part feel watched.
- Export MP4. Glitchest renders out via WebCodecs to a clean MP4. You can also Save Frame PNG to grab a single ruined still for a thumbnail or poster.
Using the Time Machine dial
The Time Machine dial lets you age the footage as a whole, dialing it from nearly clean toward heavily worn. It is a fast way to find the overall level of decay before you go in and hand-place specific dropouts and signal-loss hits as short effect boxes on the timeline.
Restraint and pacing
The most common beginner mistake is running every effect at maximum for the entire clip. Constant maximum chaos stops being scary within a few seconds — the eye adapts, and wall-to-wall noise just becomes wallpaper. Analog horror works on contrast.
Let long stretches sit almost stable, with only a faint hiss of grain and an occasional tracking wobble. Then hit a single hard signal-loss box right when the viewer relaxes. One well-placed dropout on an otherwise quiet frame does more than thirty seconds of nonstop static. Place the boxes so the failures feel like they are reacting to something, not just running on a timer.
Where to go next
Analog horror often shares a visual family with CRT and broadcast looks, so it is worth learning those textures too. Our walkthrough on how to add a CRT effect pairs well with the tape-rot workflow above, especially for scanlines and screen curvature. From there, mix the presets, save a few frames as stills, and keep your best signal-loss boxes — a small library of reusable moments makes every new piece faster to build.
Try it now — add this look to your own clip, free and in your browser.
Open the editor →FAQ
What effects define analog horror?
Tape rot, dropouts, rolling static, signal loss and unstable sync — the look of decaying VHS footage.
Do I need paid software for analog horror effects?
No — the dead-signal, VHS and tracking-noise looks used in analog horror run free in your browser, with no account and no paywall on the export.
Which preset should I start from?
The Signal Jam or Dead Channel presets, then push noise and dropouts.