How to Make a Cyber Glitch Twitch Offline Banner (Free)
Your Twitch offline banner is your channel's digital storefront when you're not live. A sharp, high-tech cyber glitch look signals that your stream is part of the future, blending high-contrast colors with digital distortion to keep viewers engaged even when the screen is dark.
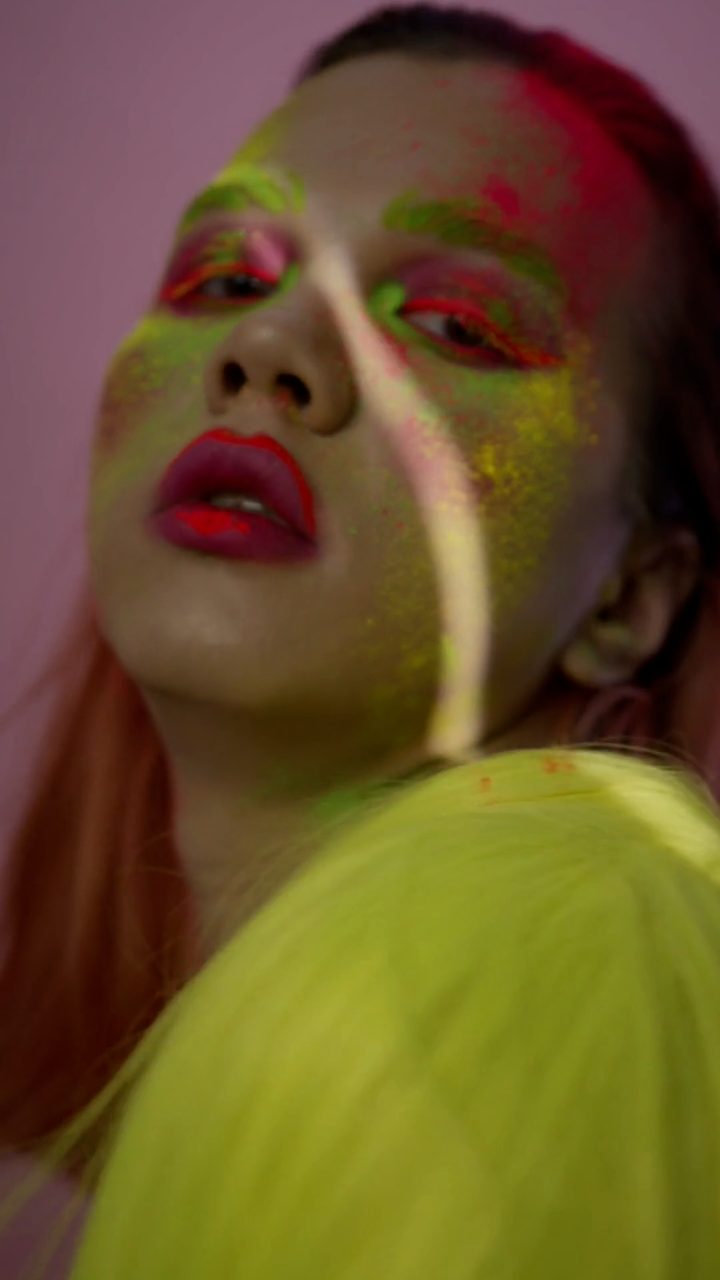 BEFORE
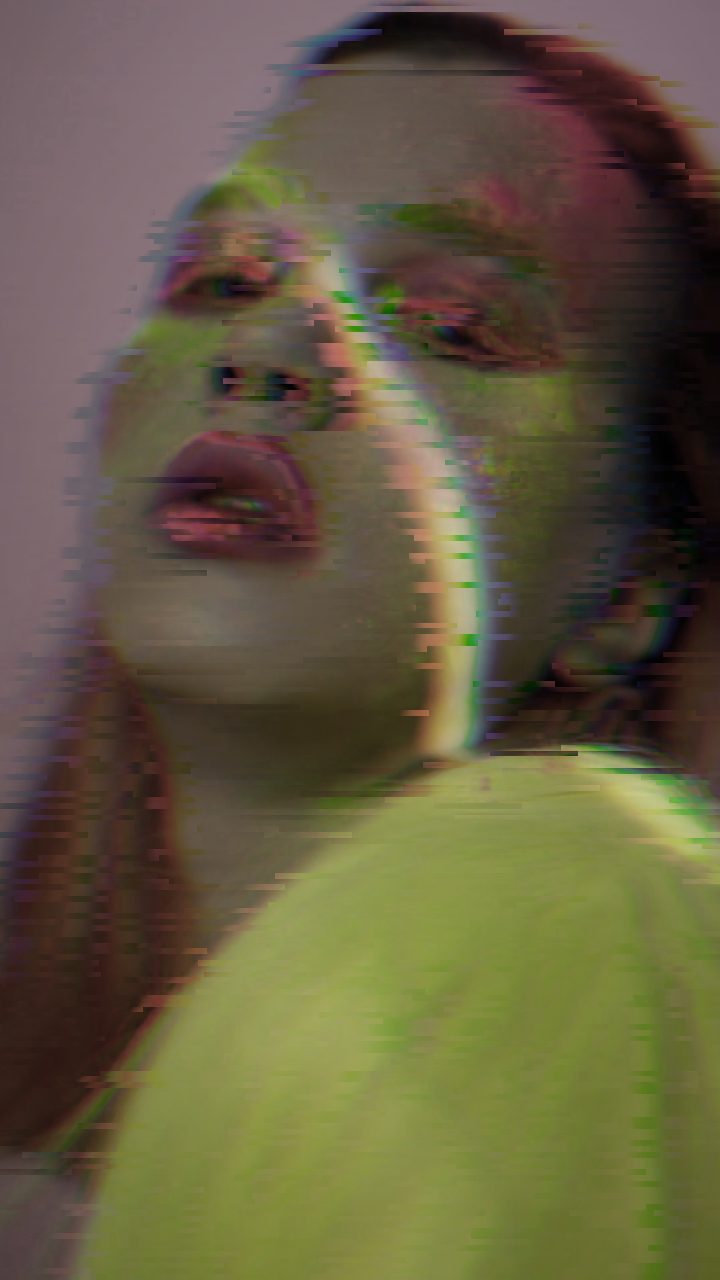 AFTER
AFTERThe Power of the Cyber Aesthetic for Streamers
In the world of streaming, your visual brand is everything. A "cyber glitch" aesthetic—characterized by neon hues, digital artifacts, and chromatic aberration—suggests a high-energy, tech-focused environment. This style is particularly effective for variety gamers, tech reviewers, and creative coders. Traditionally, achieving this look required expensive software like Adobe Photoshop for static banners or After Effects for animated ones. While those tools offer incredible depth, the editor at Glitchest allows you to achieve the same professional-grade distortion in seconds without an account or any uploads.
Glitchest vs. Professional Design Suites
If you are already a power user of tools like Premiere Pro or DaVinci Resolve, you know that creating a convincing glitch from scratch involves stacking multiple displacement maps, color curves, and noise layers. It is a time-intensive process. Glitchest streamlines this by running entirely in your browser using WebCodecs. It doesn't replace the granular control of a desktop suite, but for a streamer who needs a high-quality banner now, it is the fastest way to turn a basic graphic into a cyberpunk masterpiece.
Step-by-Step: Creating Your Cyber Glitch Banner
- Load Your Base Graphic: Start by dragging your existing channel logo or a simple "Offline" graphic into the editor. Since there is no upload process, your files never leave your computer—everything is processed locally in your browser RAM.
- Apply the Channel Chaos Preset: To get that immediate cyber feel, navigate to the presets and select Channel Chaos. This preset is the perfect foundation for this look because it focuses heavily on RGB channel separation and digital signal disruption. It instantly breaks the clean lines of your text, giving it a "hacked" terminal feel.
- Nudge the Knobs for Neon Impact: Once the preset is active, focus on the Hue Shift and Color Boost knobs. For a classic cyberpunk palette, move the Hue Shift until you hit those electric purples, magentas, and cyans. Increase the Color Boost to ensure the banner pops against the dark Twitch UI. If the glitching feels too subtle, nudge the RGB Split higher to create those iconic red and blue fringing effects.
- Design Your Timeline with Effect Boxes: If you want your banner to be an animated MP4, you will use the effect-box timeline. Instead of drawing complex curves, you simply drop effect boxes onto the lanes. Place a short, high-intensity box for a "hard hit" of distortion every few seconds. You can set each box's fade-in and fade-out duration to make the glitching feel organic rather than jittery.
- Layering for Depth: You can stack multiple effect boxes on different lanes. Try layering a subtle VHS-style box for constant texture and dropping a heavy Channel Chaos box on top of it at specific intervals. This layering mimics the way digital signals actually fail, creating a much more convincing look than a single static filter.
- The Final Polish: Use the Time Machine knob to add a layer of digital "age" to the footage. While it's great for an analog horror look, a slight touch of Time Machine on a cyber edit can add just enough grain to prevent the colors from looking too "flat" or digital.
Exporting for Maximum Quality
Once your banner looks perfect, you have two options for export. If you want a static image for your Twitch "Offline Image" setting, use the Save Frame button to export a high-resolution PNG. This is the same process used when you make a glitchy YouTube banner, ensuring you get a crisp, uncompressed still.
If you are creating a background for your "Starting Soon" or "Be Right Back" scenes in OBS, export as an MP4. Glitchest uses WebCodecs to render the video locally, meaning you get a fast export without the need for a server-side render queue. This MP4 can then be dropped directly into OBS as a Media Source. Remember to check the "Loop" box in your OBS source settings so the cyber glitch continues indefinitely throughout your break.
Pro Tip: Masking Your Text
If you want your channel name to remain perfectly legible while the background glitches out, use the Rectangle Masking tool. You can define an area of the screen where the effects are either applied or ignored. This is a great way to maintain brand clarity while still embracing the chaotic energy of the cyber aesthetic. By isolating the glitch to the edges of the frame, you create a sophisticated framing effect that keeps the viewer's eye exactly where it needs to be: on your channel name.
The exact settings
Start from the Channel Chaos preset, then set:
| Glitch Rate | 42 |
| Chaos | 42 |
| RGB Split | 60 |
| Hue Shift | 70 |
| Color Boost | 40 |
| Channel Swap | 86 |
Everything else stays at its default — tweak it, then copy your own look as JSON or a link from inside the editor to share it.
Try it now — add this look to your own clip, free and in your browser.
Open the editor →FAQ
What dimensions should I use for my Twitch offline banner?
The standard recommended size for a Twitch offline banner is 1920x1080 pixels, which maintains a 16:9 aspect ratio and looks sharp on all displays.
Can I create a looping video banner for my Twitch background?
Yes, by placing multiple effect boxes on the timeline in the editor and exporting as an MP4, you can create a high-energy animated background for your stream scenes.
Do I need to download any plugins to get the 'cyber' look?
No plugins are required; the Channel Chaos preset and the Hue Shift knobs provide all the neon distortion and RGB splitting needed directly in your browser.