Spot-Color Censor Look: Pixelate & Recolor Video
A standard mosaic blur hides sensitive details, but pairing high-contrast pixelation with isolated spot recoloring turns a mundane privacy block into an intentional, stylized graphic asset. Whether you are masking an identity for an analog documentary look or building a cyberpunk glitch aesthetic, this technique gives you sharp, crunchy edges that pop off the screen.
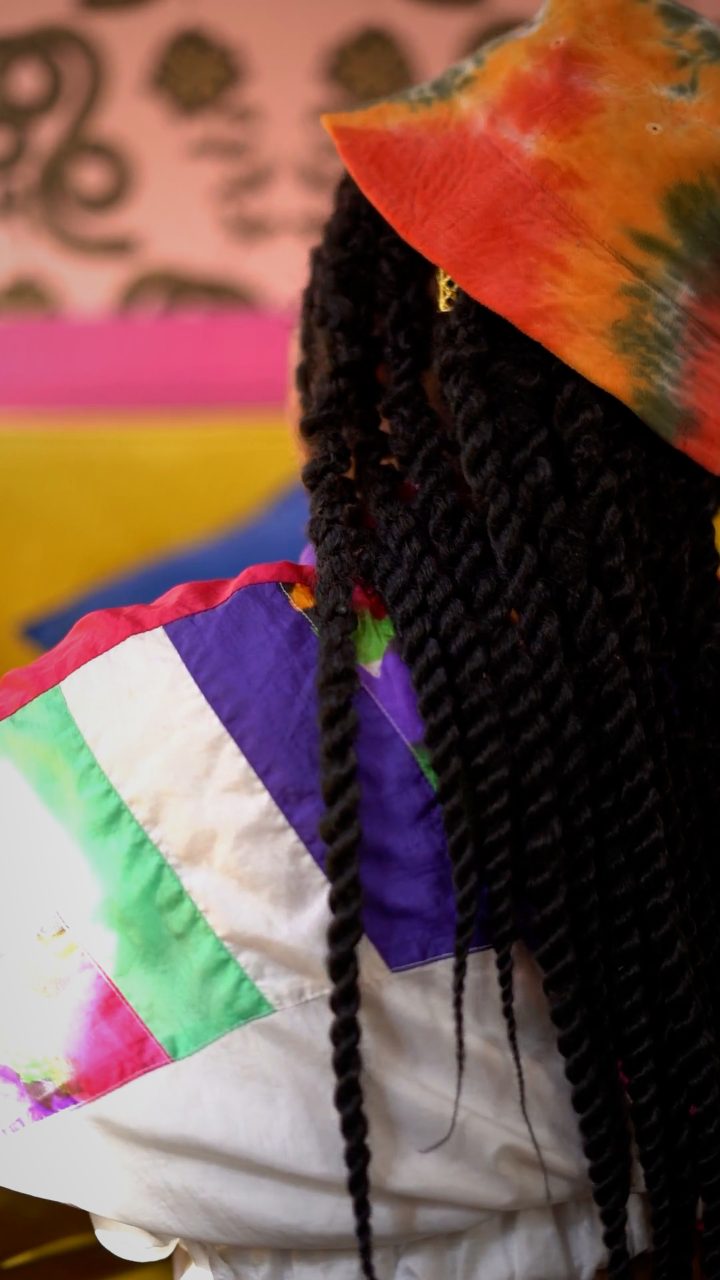 BEFORE
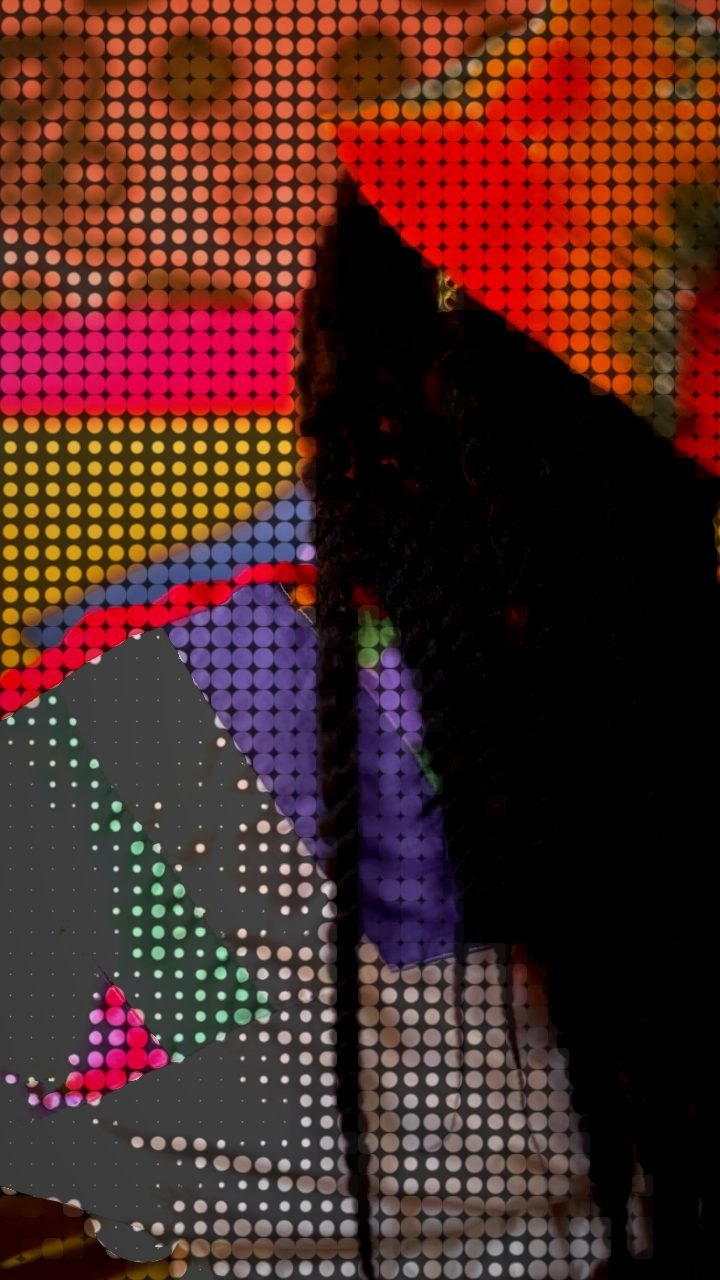 AFTER
AFTERWhy the Comic Preset Works for Blocky Censors
Rather than starting from a blank canvas, the fastest route to an editorial censor box is loading the editor and applying the Comic preset. While originally tuned for print-style halftone textures, its underlying architecture provides the exact elements needed for hard-edged color isolation.
The preset relies on severe contrast boosting, aggressive dot flattening, and saturation amplification. When pushed, these parameters crush subtle gradient roll-offs into stark, geometric color partitions. Instead of soft, blended pixel clouds, you get distinct color chunks that mimic retro microcomputers or newsprint spot-plates.
Tuning the Knobs for a Spot-Color Effect
Once you drop your clip into the timeline, select your effect box to open the inspector panel. You can shape the Comic preset into a custom spot-color censor by focusing on four primary controls:
- Dot Size: Cranking this slider upward enlarges the raster cell structure, instantly shifting the visual texture from a fine screen tone to oversized digital mosaic bricks.
- Dot Flatten: Increasing flatten forces adjacent luminance levels into uniform tonal slabs. This removes middle-gray smoothing, locking your pixels into rigid, solid-fill shapes.
- Contrast: Push the contrast high to snap subtle skin tones or background objects into binary darks and brights, preventing muddy mid-tone bleeding.
- Color Boost: Maximize saturation to create punchy spot colors. This forces the highlighted segments of the masked area to snap to neon primaries or stark monochrome accents.
If you want to blend multiple styles, you can layer effects across separate timeline lanes or read our guide on halftone dots and posterize techniques to expand the graphic treatment.
Step-by-Step: Applying a Targeted Censor in Glitchest
- Load Your Media: Drag your video or still image into Glitchest. The file processes entirely in your browser memory without uploading to an external server.
- Add an Effect Box: Click the timeline to drop an effect box over the duration of the clip where you want the censor to appear.
- Choose the Comic Preset: Select the effect box, open the preset dropdown, and click Comic to establish the base contrast and dot grid.
- Apply Masking: In the effect panel, enable masking and choose either the rectangle or ellipse shape. Position the box over the face, text, or region you want to censor, scaling the handles until only the target area is covered. If you need advanced placement tips, check out our mask glitch effects tutorial.
- Dial in the Grid: Increase Dot Size until individual blocks obscure the underlying features, then nudge Dot Flatten and Color Boost until the colors break into stylized, isolated spot patches.
- Set Entry and Exit Fades: Adjust the fade-in and fade-out handles on the effect box for a smooth transition, or leave them at zero for an abrupt, hard-hitting cut.
- Export: Click export to generate your finished MP4 via WebCodecs, or use Save Frame to capture high-res PNG stills immediately.
Layering for Dynamic Glitch Censorship
To take the look beyond a static overlay, drop a second, shorter effect box on an adjacent timeline lane. By setting this secondary box to a high-energy preset like Cyber Glitch or Broken Monitor and placing it directly over the censor area for a few frames, you can introduce periodic digital hitches and tracking artifacts that keep the censor active and visually engaging.
The exact settings
Start from the Comic preset, then set:
| Color Boost | 44 |
| Contrast | 64 |
| Halftone (dots) | 72 |
| Dot Size | 56 |
| Dot Flatten | 44 |
Everything else stays at its default — tweak it, then copy your own look as JSON or a link from inside the editor to share it.
Try it now — add this look to your own clip, free and in your browser.
Open the editor →FAQ
How do I isolate the pixelation effect to just a face or license plate?
Add an effect box to the timeline, select either the rectangle or ellipse masking tool, and drag the bounding box directly over the area you want to obscure.
Can I animate the censor block across the screen without keyframe curves?
Place multiple short effect boxes across the timeline track, nudging each box's mask position along your subject's movement path to follow the action.
Does rendering a heavy pixelated censor effect reduce video resolution?
No, Glitchest processes the effect inside your browser canvas and exports full-resolution MP4 video directly through hardware-accelerated WebCodecs.