Camera Shake & Datamosh for Found-Footage Crashes
In found-footage horror, sci-fi thrillers, and mockumentaries, the moment of impact makes or breaks the illusion. A genuine camera drop or high-speed collision doesn't just blur—it fractures the video stream into dislocated frame packets, extreme chromatic separation, and violent vertical jitter.
 BEFORE
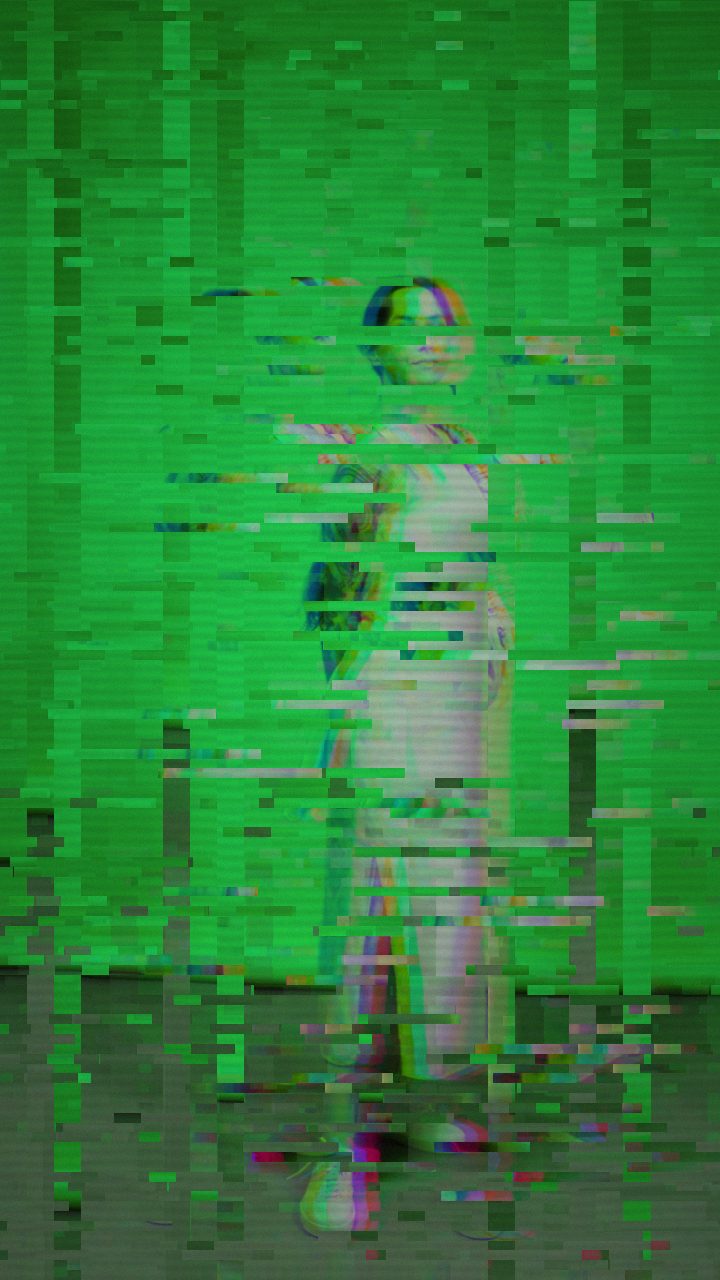 AFTER
AFTERThe Anatomy of a Found-Footage Crash Glitch
When an active digital camera hits the ground or gets struck by an entity, two distinct failures happen simultaneously: physical kinetic shock and digital codec failure. The physical shock jerks the sensor across scanning lines, creating aggressive vertical dislocation and momentary exposure flicker. Meanwhile, the digital compression engine fails to compute motion vectors, smearing macroblocks across the screen in characteristic datamosh tearing.
To build this in your edit, you need to sync sudden vertical shake with blocky compression artifacts, chromatic fringing, and analog scanline distortion.
Starting with the Datamosh Preset
Inside the editor, the ideal baseline for this catastrophic moment is the Datamosh preset. It is preconfigured with the essential building blocks for digital stream collapse: heavy chromatic dispersion, macroblock chunking, and frame-smearing buffer persistence.
While the default preset establishes a rich corrupted stream, tuning a few specific parameters will transform it into an explosive kinetic impact:
- Vertical Shake & Vertical Shift: Found-footage crashes are driven by sudden vertical displacement. Nudge Vertical Shake upward to simulate the sensor bouncing on impact, and increase Vertical Shift to wrench whole scan rows off-axis.
- RGB Split: Severe lens trauma separates optical channels. Pushing RGB Split wider gives the edge of the frame a violent, disoriented color fringe that peaks precisely on the frame of impact.
- Datamosh (trail) & Block Size: This controls the persistence of smeared motion. For a heavy impact, bump Block Size up to create massive data chunks, while keeping the trail length contained so the image doesn't turn entirely to mud before the scene resolves.
- Chaos & Glitch Rate: Keep these high during the primary hit frame to introduce unpredictable pixel scatter across the middle thirds of the sensor.
If you are exploring the mechanics of compression artifacts in narrative edits, learning what datamosh actually is will help you decide when to use motion vector smears versus pure digital noise.
Step-by-Step: Timing the Impact on the Timeline
Because Glitchest uses an effect-box timeline rather than abstract curve editors, building a sudden crash is purely a matter of box placement and duration.
- Import your source footage: Drop your MP4 video or still frame directly into the browser editor. Processing runs entirely on your local machine using hardware-accelerated WebCodecs.
- Locate the exact frame of impact: Scrub the playhead to the frame where the collision occurs (for example, when the runner falls or the vehicle strikes an obstacle).
- Add a short, hard-hitting effect box: Click to add an effect box over your video lane and select the Datamosh preset. Drag the edges of the box so it spans only 4 to 8 frames. Set its fade-in to zero so the glitch hits with instant, jarring violence.
- Layer a secondary decay box: On an overlapping lane, drop a second effect box immediately following the impact point. Set this box to a lower master Strength with a short fade-out over half a second. This simulates the camera's internal signal processor struggling to stabilize after the blow.
- Add sensory degradation: For analog horror or vintage camcorder narratives, nudge the Scanlines and Noise knobs slightly up on the trailing box, or explore dedicated analog horror video effects to layer timestamp jitter and tape hum.
- Export the render: Click Export to generate your final MP4 video with full original audio sync intact, or grab crisp PNG stills using Save Frame for promotional thumbnails.
Refining the Follow-Through
A convincing crash needs contrast. The frames immediately preceding the impact should remain completely clean or carry only subtle handheld motion. When the short Datamosh effect box triggers, the sudden leap in RGB Split and Vertical Shake delivers the kinetic punch, while the quick fade-out on the secondary lane provides the realistic visual hangover of damaged hardware.
The exact settings
Start from the Datamosh preset, then set:
| Strength (master) | 52 |
| Glitch Rate | 42 |
| Glitch Width | 48 |
| Block Size | 42 |
| Chaos | 42 |
| Datamosh (trail) | 28 |
| Horizontal Wave | 14 |
| Vertical Wave | 10 |
| Vertical Shift | 30 |
| Vertical Shake | 18 |
| RGB Split | 54 |
| Hue Shift | 26 |
| Noise | 10 |
| Scanlines | 15 |
| Flicker | 12 |
Everything else stays at its default — tweak it, then copy your own look as JSON or a link from inside the editor to share it.
Try it now — add this look to your own clip, free and in your browser.
Open the editor →FAQ
Why combine vertical shake with datamosh instead of just motion blur?
Physical camera drops and sudden vehicle impacts cause sensor read errors and severe compression tearing that motion blur cannot replicate. Combining vertical displacement with datamosh compression smearing mimics actual digital encoder corruption during high-g shocks.
How long should the crash impact effect box be on the timeline?
A realistic crash hit works best when the primary violent displacement lasts between 4 and 12 frames (0.15 to 0.4 seconds), followed immediately by a lower-intensity tail or dead channel cut as the camera comes to rest.
Can I isolate the datamosh crash to only part of the screen?
Yes, you can apply rectangle or ellipse masking directly to the effect box in the editor to make only the damaged side of the camera sensor tear while the rest retains high-contrast noise.