How to Make a Duotone LinkedIn Cover from a Headshot
Transforming a standard headshot into a stylized duotone LinkedIn cover banner is one of the quickest ways to establish a memorable, cohesive personal brand without paying for custom graphic design.
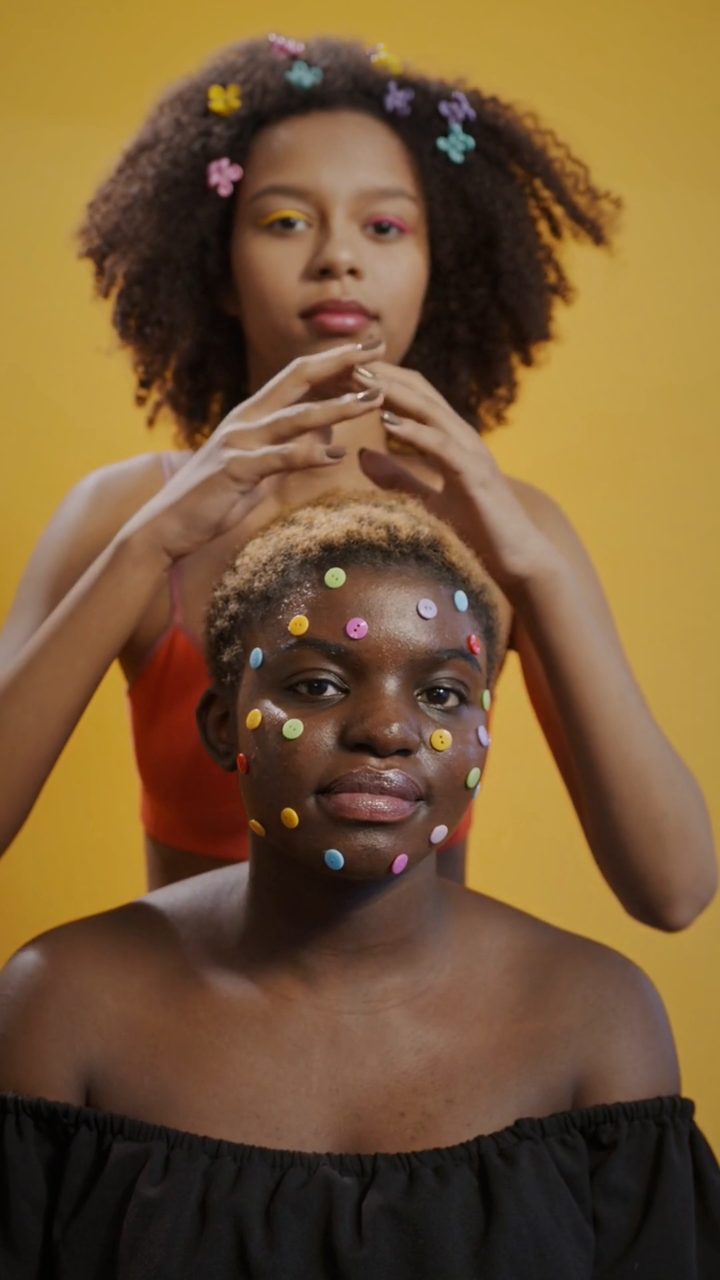 BEFORE
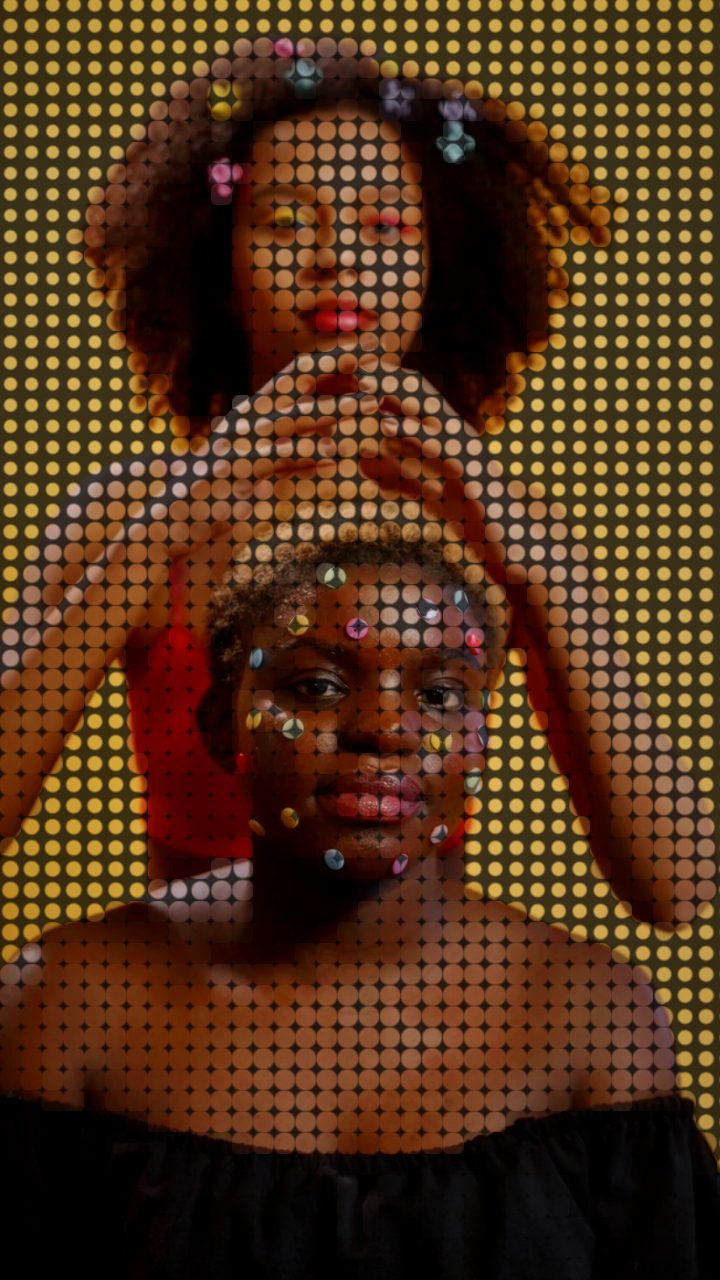 AFTER
AFTERThe Dilemma: Dedicated Design Software vs. Instant Web Engines
When you need to turn a standard portrait into an ultra-wide banner (LinkedIn recommends 1584 × 396 pixels), standard photography usually falls flat. Tight headshots cropped horizontally leave awkward negative space, messy office backgrounds, or conflicting color palettes that fight your profile picture. Duotone treatments solve this by reducing photographic noise into two complementary tones and adding print-style graphic texture.
Traditionally, designers accomplish this in Adobe Photoshop or Affinity Photo. That manual workflow involves cutting out your subject with the Pen Tool, dropping a Black & White adjustment layer to balance luminances, adding a Gradient Map layer loaded with brand hex codes, and stacking a Color Halftone filter or pattern overlay. While this offers pixel-level control over layer blending, it can easily take fifteen minutes of tweaking layer masks and curve adjustments just to see if the aesthetic fits your layout.
By contrast, processing your photo inside the editor in your browser delivers an immediate procedural result. There are no project files to manage, no sign-ups required, and zero client-side uploads because rendering executes entirely inside your local browser memory via WebCodecs and canvas shaders.
Why the Comic Preset Works Best for Profile Banners
While Glitchest features presets designed for heavy signal decay like VHS, Broken Monitor, or Cyber Glitch, corporate and creative profile banners need clarity alongside edge. The Comic preset is specifically tuned to convert natural continuous-tone portraits into bold, graphic screenprints.
The preset achieves this through a combination of high contrast separation, color saturation boosting, and a structured halftone dot matrix. Rather than blurring facial features, it pushes midtones into crisp graphical ink zones, much like the techniques covered in our halftone dots comic panel effect guide. This structure hides imperfect mobile camera noise and poor lighting while elevating a standard headshot into deliberate editorial art.
Dialing the Look to Taste
Once you load the Comic preset, you can refine its personality to match your industry:
- Contrast: If your original photo has soft studio lighting, push the contrast higher to create deeper, punchier shadows that carve out strong silhouette lines across the banner width.
- Halftone & Dot Size: For a subtle print look suitable for tech or consulting profiles, pull the dot size down so the pattern reads as micro-texture. For creative agencies, editorial writing, or music production, enlarge the dot size for a visible pop-art screenprint vibe.
- Color Boost: Increase the color saturation knob to lock onto your primary brand accent, or dial it back if your LinkedIn layout demands a more understated dual-tone palette.
- Dot Flatten: Adjust this control to smooth the transition between the halftone shadows and the bright highlight blocks on your face.
Step-by-Step: From Raw Headshot to LinkedIn Header
- Import your headshot: Open Glitchest and drag your photo into the workspace. Because all computation happens locally in your browser, even high-resolution camera RAW exports load instantly.
- Apply the Comic preset: Select Comic from the preset menu to instantly map your lighting into high-contrast halftone ink fields.
- Fine-tune the texture: Open the active effect box parameters. Nudge your Contrast and Dot Size until your facial features remain recognizable while the background simplifies into clean texture.
- Isolate details if necessary: If you want to keep your face smoother while distressing only the backdrop, apply an ellipse or rectangle mask to your effect box directly on the timeline.
- Export the banner graphic: Hit Save Frame to generate a crisp, full-resolution PNG still file ready to upload straight into your LinkedIn profile settings.
When to Use Glitchest vs. Traditional Multi-Layer Tools
If you are building an entire brand identity system with complex vector typography and strict CMYK print guidelines, a desktop design suite like Illustrator or Photoshop remains essential. But when your goal is fast asset production—generating a striking, textured banner from an existing photo in under two minutes—a dedicated browser pipeline wins on speed and iteration. Similar to the fast grading approaches explored in our duotone Spotify cover guide, procedural browser processing lets you experiment freely with tonal balance without getting bogged down in complex layer stacks.
The exact settings
Start from the Comic preset, then set:
| Color Boost | 44 |
| Contrast | 64 |
| Halftone (dots) | 72 |
| Dot Size | 56 |
| Dot Flatten | 44 |
Everything else stays at its default — tweak it, then copy your own look as JSON or a link from inside the editor to share it.
Try it now — add this look to your own clip, free and in your browser.
Open the editor →FAQ
Why turn a standard headshot into a duotone LinkedIn cover banner?
Cropping a portrait into a narrow 4:1 banner often looks awkward with busy backgrounds, whereas a duotone conversion flattens distracting details into a cohesive graphic asset that matches personal brand colors.
How does using the Comic preset compare to a manual Photoshop gradient map?
Photoshop gradient maps require manual cutout masking, curve adjustments, and raster dot layers, while the Comic preset immediately handles contrast boosting, tonal grouping, and procedural halftone texturing in one pass.
What file format should I export for LinkedIn banner uploads?
Click Save Frame in Glitchest to download an uncompressed PNG still, which retains crisp halftone dot edges and vibrant branding tones without video compression artifacts.