Lo-Fi Dream Fade: Combine Vignette & Blur Soft Focus
Creating a lo-fi dream fade requires balancing two optical traits: edge darkening that pulls the viewer inward, and soft-focus chromatic bleed that diffuses harsh digital clarity. While standard editing suites require stacking multiple adjustment layers and lens blur plugins, you can build this nostalgic dreamcore look directly in your browser in seconds.
 BEFORE
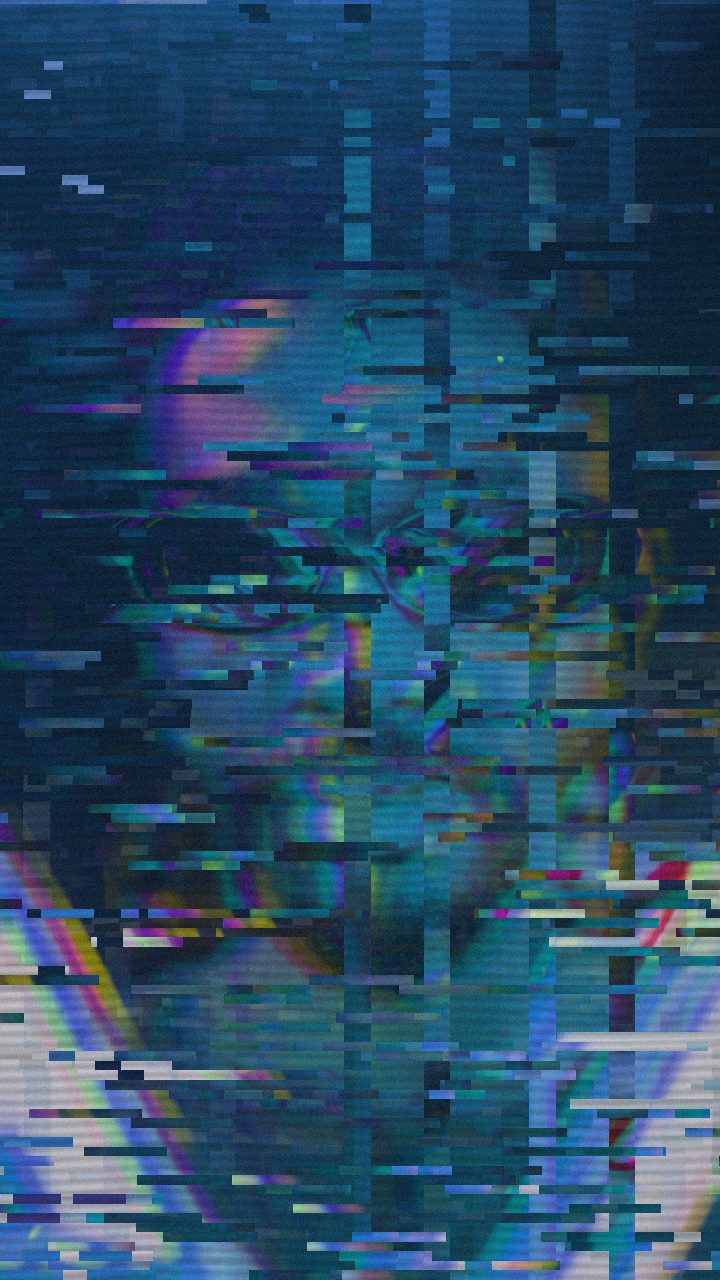 AFTER
AFTERWorkflow Comparison: Desktop NLEs vs. In-Browser Effect Boxes
In traditional desktop suites like Adobe Premiere Pro, DaVinci Resolve, or After Effects, building a dreamy transition is an established, highly precise process. You typically create an Adjustment Layer, apply a Gaussian or Camera Lens Blur, stack a Lumetri Color or Vignette effect, and split color channels using displacement nodes or separate RGB channel curves. For full-length post-production pipelines, that granular level of node-based control is invaluable.
However, when you need a fast, stylized dream sequence for music visuals, social edits, or aesthetic stills, building multi-layer composite trees can disrupt your creative momentum. In the editor, you can achieve the same rich lens diffusion without installs, project setup, or rendering delays. Instead of manipulating keyframe curves, Glitchest uses an intuitive effect-box timeline where you simply position boxes over your clip, blend them across separate lanes, and configure smooth fade-in and fade-out durations.
Why Cyber Glitch is the Best Starting Base
Most editors reach for a standard lens blur when trying to create soft focus, but clean Gaussian blurs often look artificial on modern high-resolution footage. A true lo-fi dream sequence requires chromatic fringing, analog phosphor decay, and subtle wave distortion alongside edge falloff.
The recommended foundation for this style is the Cyber Glitch preset. Although engineered for futuristic screen corruption, its underlying architecture includes the exact optical properties needed for dream fades: heavy RGB separation, fine wave motion, and textured scan dynamics. By tailoring its default intensity, you transform aggressive video destruction into a lush, ethereal haze.
- Tame the Glitch Dynamics: Lower the Glitch Rate and Chaos knobs so the visual texture settles into an ambient, glowing fog rather than violent digital tearing.
- Amplify Optical Separation: Maintain a generous RGB Split level to scatter light across the edges, mimicking vintage wide-aperture lenses.
- Introduce Ambient Drift: Keep Horizontal Wave and Vertical Wave set to modest values to simulate the slow optical shimmer of a dream sequence.
- Dial in the Texture: Use subtle Scanlines and Noise to prevent the blur from looking too sterile or digitally compressed.
Step-by-Step: Assembling the Lo-Fi Dream Fade
- Load Your Media: Open the workspace and drag in your video clip or still image. Glitchest handles processing client-side, meaning your source files never leave your device.
- Apply the Cyber Glitch Preset: Select the preset from the library. This automatically configures your master parameters for chromatic bleed and horizontal warp.
- Shape the Soft Focus: Pull down the Strength and Glitch Width knobs until the hard-edged block artifacts melt into a smooth, dreamy shimmer. If you want to explore complementary atmospheric techniques, review our guide on dreamcore hazy bloom looks.
- Frame with Masking: If you want to retain subject focus in the center of the frame, activate an ellipse mask. Invert or feather the boundary so the blur and color fringing concentrate around the outer borders like a retro toy lens.
- Set the Timeline Dream Fade: To turn the look into a transition, drop an effect box onto the timeline lane where you want the dream state to occur. Set the box's fade-in parameter to gradually introduce the haze over several seconds, then set the fade-out parameter to return to clean video. Layer a second short box with heightened RGB split at the peak moment for a surreal climax.
- Export Stills or Video: Click Save Frame for an instant PNG still, or render your transition directly to an MP4 video using accelerated browser WebCodecs.
When to Use Soft Focus vs. Heavy Analog Aging
A soft-focus lo-fi dream fade works best during psychological transitions, music video interlays, introspective memory sequences, and stylized social content. If your goal is authentic mechanical tape degradation rather than ethereal romance, combining this look with physical wear is ideal; explore our breakdown on vignette and film scratch techniques to see how scratches and frame jitter alter the mood from dreamy to archival.
The exact settings
Start from the Cyber Glitch preset, then set:
| Strength (master) | 52 |
| Glitch Rate | 42 |
| Glitch Width | 48 |
| Block Size | 40 |
| Chaos | 42 |
| Datamosh (trail) | 16 |
| Horizontal Wave | 26 |
| Vertical Wave | 14 |
| Vertical Shift | 30 |
| Vertical Shake | 12 |
| RGB Split | 72 |
| Hue Shift | 48 |
| Noise | 20 |
| Scanlines | 30 |
| Flicker | 14 |
Everything else stays at its default — tweak it, then copy your own look as JSON or a link from inside the editor to share it.
Try it now — add this look to your own clip, free and in your browser.
Open the editor →FAQ
Why start with the Cyber Glitch preset for a soft-focus dream fade?
Cyber Glitch includes built-in RGB split, soft scanline presence, and subtle wave displacement that mimic vintage lens aberration. Softening its chaos and glitch rate turns sharp digital artifacts into a glowing, optical lo-fi blur.
How do I create a smooth dream fade without timeline keyframe curves?
Drop an effect box onto the timeline over your footage and adjust the box's fade-in and fade-out handles. This smoothly ramps the soft-focus distortion in and out without needing a manual keyframe curve editor.
Can I confine the lo-fi blur to the edges while keeping the subject clear?
Yes, enable an ellipse mask on the effect box to leave the center sharp while pushing the chromatic blur, wave drift, and vignette to the perimeter.