How to Make a VHS Effect in After Effects (Fast Shortcut)
Building an authentic VHS effect in After Effects usually involves stacking multiple adjustment layers, displacement maps, and grain overlays from scratch. While mastering an After Effects VHS effect gives you deep compositing control, manual project setup takes considerable time when you need quick turnaround. If you want instant analog degradation without launching heavy desktop software, the editor at Glitchest delivers vintage tape artifacts directly in your browser with zero uploads.
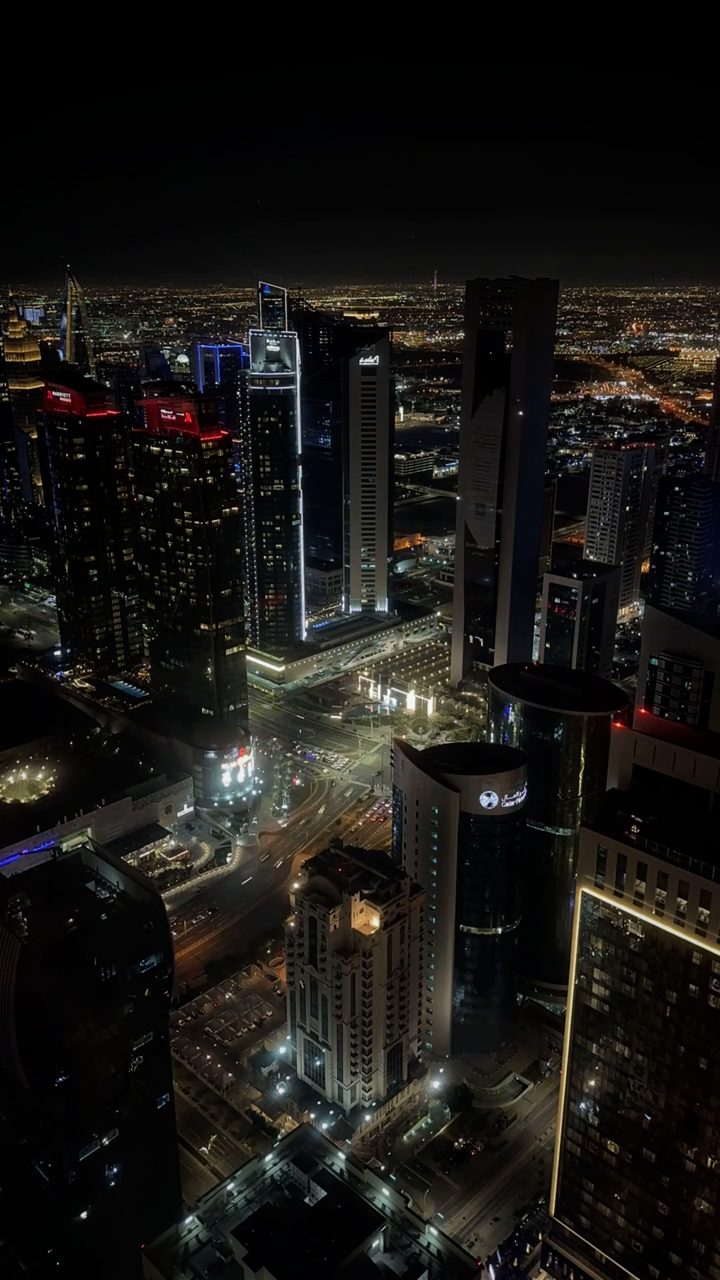 BEFORE
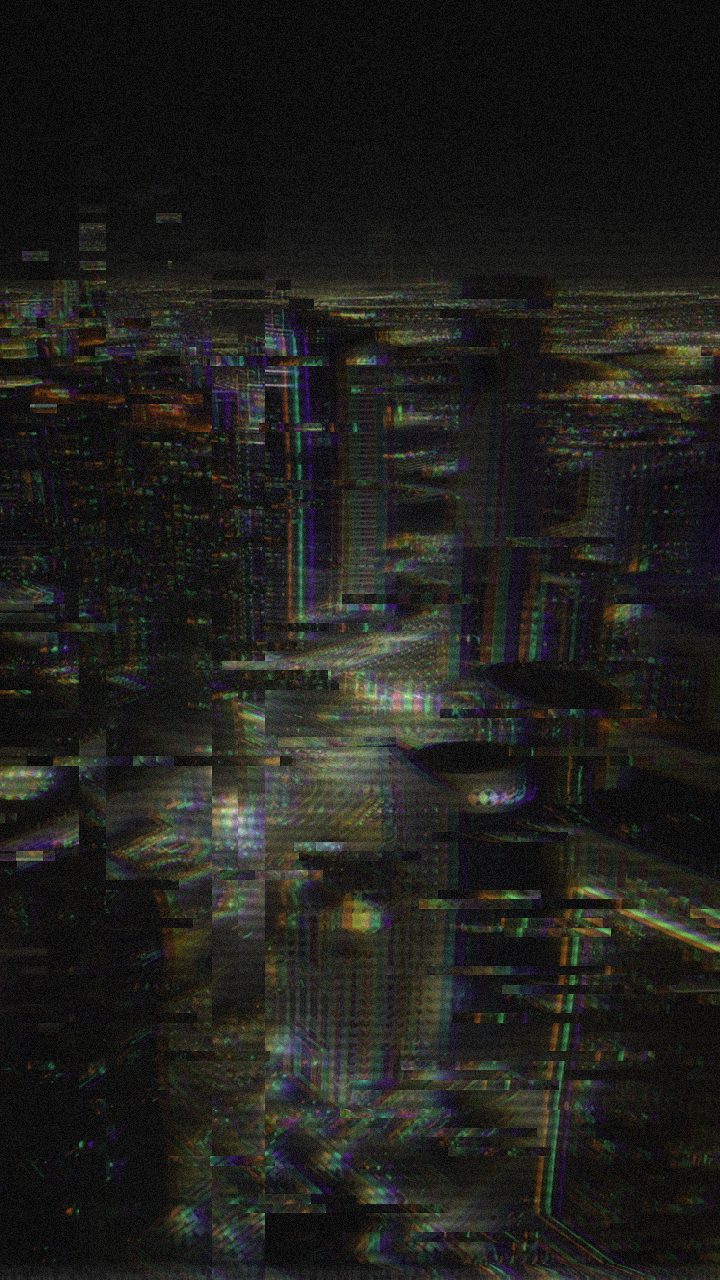 AFTER
AFTERBuilding a VHS Look in After Effects Step-by-Step
After Effects excels at granular customization, allowing you to combine individual channel shifts, displacement maps, and frequency distortion layers to mimic magnetic tape breakdown. Here is how professional compositors build the look from scratch using native tools:
- Separate Chromatic Channels (RGB Split): Duplicate your footage layer three times. Set the blending mode of the top two layers to Screen. Use the Shift Channels effect on each layer to isolate the Red, Green, and Blue channels respectively. Position or scale the Red and Blue layers slightly out of alignment to create signature color fringing.
- Add Horizontal Distortion with Wave Warp: Apply a Wave Warp effect to an adjustment layer above your footage. Set the wave type to Square or Sine, pin the direction horizontally, and adjust the wave height and width to create subtle horizontal scan line tearing.
- Simulate Analog Noise and Luminance Blur: Place a new adjustment layer with the Noise effect set between 5% and 12%. Follow this with a subtle Gaussian Blur applied only horizontally or a Channel Blur focused on the red and blue channels to mimic lower chroma bandwidth found on physical videotape.
- Construct Magnetic Tracking Jitter: Create a Solid layer with Fractal Noise scaled heavily on the X-axis to create thin horizontal bands. Pre-compose this layer and apply a Displacement Map effect to your visual stack, selecting the noise pre-comp as the displacement source to cause authentic frame displacement.
The Browser Shortcut: One-Click VHS Styling
While building custom comp stacks in After Effects offers precise control, setting up expressions and displacement layers can take valuable time. When you are on a tight deadline or working on a machine without creative software installed, Glitchest lets you achieve the same aesthetic in seconds with zero render setup.
To jump straight to a classic home-video aesthetic, open the editor and select the VHS starting preset. This preset instantly combines color bleeding, scanlines, and subtle tracking instability without requiring manual channel routing.
Fine-Tuning Your Retro Analog Look
Once you select the VHS preset, you can nudge key controls to tailor the severity of the distortion to match your source material:
- RGB Split & Scanlines: Increase RGB Split to exaggerate the color separation along high-contrast edges, or raise Scanlines to add dark horizontal phosphor lines across the frame.
- Horizontal Wave & Vertical Shift: Adjust Horizontal Wave to simulate physical tape warpage across the screen, or nudge Vertical Shift to introduce occasional tracking pops where the image rolls vertically.
- Flicker & Noise: Dial in Noise and Flicker to recreate the grainy, unstable signal typical of worn magnetic tape playback on older CRT monitors.
Timing Your VHS Effects with Effect Boxes
Analog tape distortion rarely stays completely static. In physical media, tape dropouts and heavy static hits happen unpredictably during scene transitions or damaged sections of tape. Rather than manipulating complex keyframe velocity curves, Glitchest uses intuitive timeline effect boxes to animate your distortion.
To create dynamic tracking glitches, drag an effect box onto the timeline lanes directly beneath your clip. Position a short box right over a beat drop or transition to create a hard burst of static, then configure the fade-in and fade-out handles on the box to let the effect smoothly wash over your video and disappear. You can also stack multiple effect boxes across different lanes to layer subtle continuous grain with sudden heavy tracking rolls.
If you regularly work across different post-production environments, check out our guide on applying a VHS effect in Premiere Pro or learn how to add VHS effects to video across various workflows.
How to Create a VHS Effect in After Effects vs. Glitchest
A traditional After Effects VHS workflow relies on stacking native effects: Shift Channels or Set Channels for chromatic aberration, Venetian Blinds for interlaced scanlines, Wave Warp or Turbulent Displace for tracking jitters, and Noise and Grain for analog snow. While this procedural method gives motion designers complete control, managing heavy compositions and render queues can slow down quick edits.
If you want the authentic tape aesthetic without the multi-layer setup, you can generate retro analog distortion directly in your browser:
- One-click preset: Click the VHS preset chip to instantly apply chromatic fringing, interlaced scanlines, and tape fuzz.
- Adjust wear parameters: Use the 0-100 knobs to dial in exact amounts of color bleeding, tracking noise, and grain.
- Automate glitch timing: Drag effect boxes on the timeline and adjust their fade handles to drop tape tears and tracking errors across specific scene cuts.
When you are finished styling your clip, grab a high-resolution still with Save Frame (PNG) or render your finished video using Export (MP4)—all processed entirely on your local machine.
Recreating the After Effects VHS Effect Without Plugins
In traditional desktop editing, building a convincing After Effects VHS effect requires combining turbulent displacement, channel blurs for color bleed, and looped tape overlay assets. When you do not have pre-built project templates or third-party suites ready, configuring those complex node stacks can stall your creative flow.
You can skip that overhead by applying tape degradation directly in the editor at Glitchest. Because processing happens in-browser, nothing uploads to an outside server and you can immediately begin shaping the signal:
- Apply preset chips: Select VHS preset chips to instantly introduce tracking noise, interlacing, and retro color shifts.
- Tweak 0-100 knobs: Fine-tune the tape wear by adjusting dedicated 0-100 knobs for scanlines, jitter, and chromatic aberration.
- Control duration with effect boxes: Drag timeline effect boxes over the exact segments you want distorted, then adjust the fade handles to smoothly feather the vintage glitch in and out.
When the visual styling is complete, grab a single still via Save Frame (PNG) or render your clip with Export (MP4) straight from the browser.
The exact settings
Start from the VHS preset, then set:
| Strength (master) | 46 |
| Glitch Rate | 18 |
| Glitch Width | 24 |
| Block Size | 40 |
| Chaos | 34 |
| Datamosh (trail) | 14 |
| Horizontal Wave | 44 |
| Vertical Wave | 20 |
| Vertical Shift | 10 |
| Vertical Shake | 12 |
| RGB Split | 46 |
| Hue Shift | 7 |
| Sepia | 12 |
| Noise | 30 |
| Scanlines | 56 |
| Flicker | 16 |
Everything else stays at its default — tweak it, then copy your own look as JSON or a link from inside the editor to share it.
Try it now — add this look to your own clip, free and in your browser.
Open the editor →FAQ
How do I create an authentic analog VHS displacement in After Effects?
To create realistic tape jitter in After Effects, create a solid layer with Fractal Noise, set it to high horizontal stretch, and use it as a Displacement Map on an adjustment layer.
Do I need third-party plugins to create a VHS look in After Effects?
No, you can achieve a complete VHS aesthetic using built-in native effects like Channel Blur, Wave Warp, Noise, and Color Balance, though dedicated plugins can streamline the process.
Why use an in-browser editor like Glitchest instead of After Effects?
Glitchest offers zero setup time with instant WebCodecs rendering directly in your browser, making it ideal when you need rapid turnaround without building complex composition stacks.
How do you create a VHS effect in Adobe After Effects?
To create a VHS effect in After Effects, combine RGB color channel separation, scanline overlays, digital noise, and Wave Warp distortion across adjustment layers. For an instant shortcut without manual layer setups, you can also apply vintage VHS effects directly in your browser using Glitchest at /app/.
What are the core steps in an After Effects VHS tutorial?
A standard After Effects VHS workflow involves splitting RGB channels with Shift Channels for chromatic aberration, adding horizontal blur and noise, and animating tracking distortion with Wave Warp. You can also overlay retro VCR timecode graphics and tape static assets to complete the look.
Can you make a realistic VHS effect in After Effects without third-party plugins?
Yes, you can achieve an authentic VHS tape aesthetic using only built-in tools like Shift Channels, Curves, Fast Box Blur, and Noise. If you want to skip configuring complex native effect stacks, you can generate retro VHS distortion instantly using Glitchest.