VHS Effect in Premiere Pro (And the Free Shortcut)
Creating an authentic premiere vhs effect in modern releases like Premiere Pro 2026 often requires stacking color shifts, noise, and scanline overlays manually. While crafting a custom vhs effect in Adobe Premiere gives precise timeline control, finding and managing a dedicated vhs plugin for Adobe Premiere can add unnecessary render overhead. If you want instant retro tape distortion without complex plugins, a free in-browser editor provides a fast, lightweight alternative.
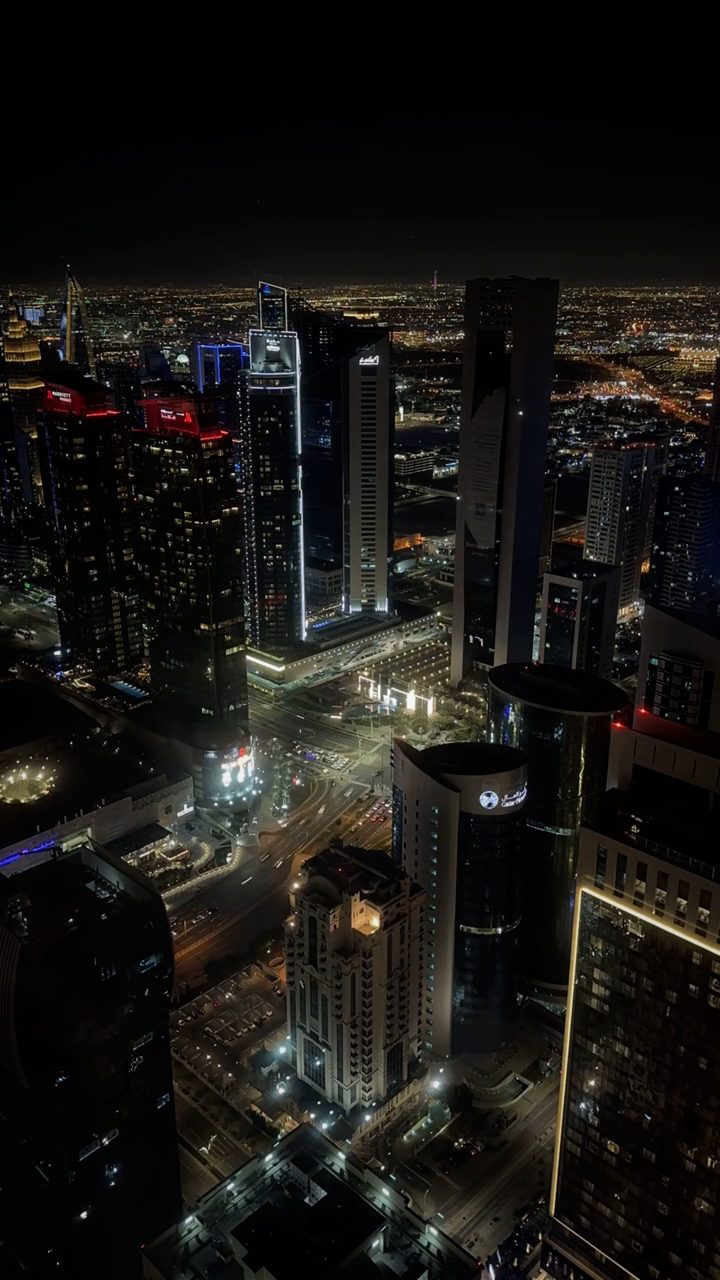 BEFORE
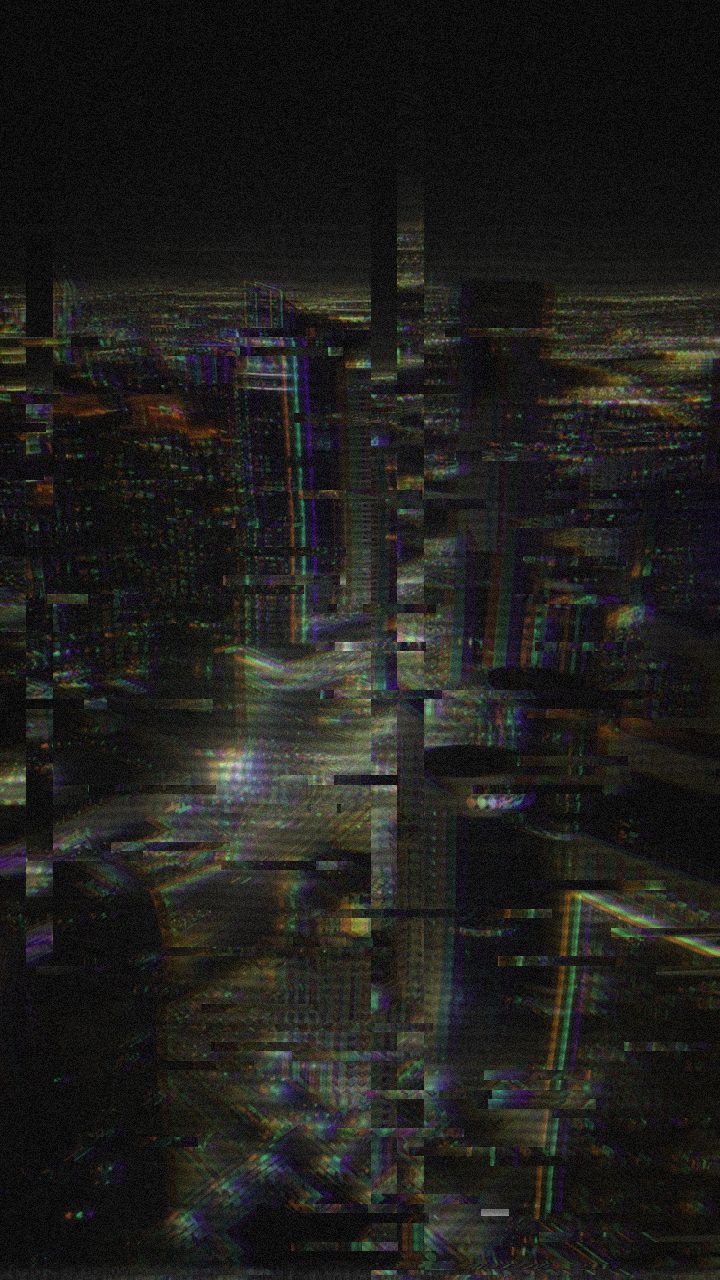 AFTER
AFTERHow to Build a VHS Effect in Adobe Premiere Pro
Adobe Premiere Pro provides a flexible environment for recreating retro home video aesthetics from scratch. Because Premiere Pro is built for professional finishing, achieving a realistic tape look involves combining several native video effects across your clip structure.
1. Color Shift and Signal Degradation
Start by softening contrast and adjusting dynamic range using the Lumetri Color panel. Lower the overall saturation, tint shadow tones slightly toward blue or green, and lift the black levels to mirror the limited contrast ratio of magnetic tape media. To create color bleeding—a hallmark of vintage video capture—you can duplicate your video clip onto three separate track layers. Apply Color Balance (RGB) to isolate the Red, Green, and Blue channels on each layer, set their track blending modes to Screen, and slightly nudge the horizontal position of one layer to create color fringing.
2. Tracking Distortion and Edge Warping
To simulate unstable tape heads, apply the native Wave Warp effect. Set the wave type to Sine or Square, lower the wave height, and set the direction horizontally. Pin the edges so the image frame stays grounded while soft horizontal ripples pass through the image. Combining Wave Warp with a subtle Channel Blur allows you to smear horizontal details, mimicking low-bandwidth NTSC composite signals.
3. Grain, Noise, and Third-Party Plugins
Finish the look inside Premiere by adding the Noise effect at a modest percentage to introduce subtle static. For editors with third-party suites like Red Giant Universe, the Universe VHS plugin offers a pre-packaged stack with built-in tracking tears, tape noise, and dropouts. While native stacking and dedicated plugins yield broadcast-ready control, setting them up across multiple timeline clips can take considerable time and system memory.
The Free Browser Shortcut: VHS Effect in Glitchest
If you want a fast workflow without opening a full NLE project or waiting on render queues, the editor on Glitchest provides an immediate solution. Glitchest runs completely in your web browser using WebCodecs, processing your media locally so your files are never uploaded to an external server.
Step 1: Apply the VHS Preset
Upload your clip or image into Glitchest and select the VHS preset from the library. This curated starting point automatically activates a balanced blend of analog parameters—combining horizontal tracking waves, vertical jitter, RGB color bleeding, soft scanlines, and luminance noise to replicate classic camcorder footage.
Step 2: Nudge Knobs to Customize Your Analog Texture
Every video source responds differently to analog distortion. Rather than rebuilding complex channel splits manually, fine-tune the retro look by adjusting key control knobs:
- RGB Split & Hue Shift: Nudge RGB Split up to exaggerate fringe separation along high-contrast edges, or shift the hue slightly to imitate faded magnetic tape.
- Scanlines & Noise: Increase Scanlines for an authentic CRT display feel, or turn up Noise to add signal static to dark scenes.
- Horizontal Wave & Vertical Shake: Adjust Horizontal Wave for subtle distortion ripples, or raise Vertical Shake if you want the frantic feel of a damaged VCR tracking head.
- Strength: Dial the master Strength knob down for a subtle, nostalgic color grade or up for heavy video distortion.
Step 3: Time Glitches with Timeline Effect Boxes
Glitchest uses an intuitive effect-box timeline to sequence distortions across your video:
- Drop a VHS effect box onto a timeline lane directly above your footage.
- Adjust the effect box duration by dragging its edge to cover a specific section of your video.
- Set each box's fade-in and fade-out handles to create smooth transitions into dirty tracking patches.
- Place a short effect box over a single frame or beat drop to trigger a sudden hard tracking glitch.
- Layer multiple effect boxes across parallel lanes to combine different preset flavors—such as blending signal dropouts with chromatic aberration or CRT scanline artifacts.
Step 4: Export High-Res MP4 Video or PNG Frames
Once your visual timing is complete, click export to generate a clean MP4 video via WebCodecs or save static PNG stills using the Save Frame tool. Because all processing happens inside your browser engine, export times stay near-instant without requiring account registration or software installation.
Do You Need a Third-Party VHS Plugin for Adobe Premiere?
Editors searching for a VHS plugin for Adobe Premiere often run into expensive commercial packs or heavy template projects that slow down playback. While native Premiere tools like Wave Warp, Channel Blur, and noise layers can recreate vintage tape when stacked together, you can also generate analog textures without installing third-party software.
Instead of managing external plugin installations, you can open Glitchest right in your browser to dial in retro aesthetics before editing:
- Select preset chips like VHS, Scanlines, or RGB Shift to load classic analog characteristics.
- Fine-tune the distortion using 0-100 knobs for tracking noise, blur, and chromatic displacement.
- Position effect boxes on the timeline and adjust fade handles to ramp the tape glitches in and out smoothly.
- Click Export (MP4) for finished video clips or Save Frame (PNG) for static retro graphics.
Because everything runs entirely in your browser with zero file uploads, you can quickly generate customized retro assets and drop them straight into your Premiere Pro timeline.
Skipping the VHS Plugin in Adobe Premiere with Glitchest
When searching for a third-party vhs plugin for Adobe Premiere or styling a vhs effect in Premiere Pro 2026, editors often face heavy plugin bundles or cumbersome multi-layer adjustment stacks. If you want analog tape drift, chroma bleeding, and scanlines without bogging down your Premiere sequence, you can process individual shots directly in Glitchest.
You can generate a vintage tape aesthetic in your browser and import it straight into your Adobe Premiere project:
- Open Glitchest in your browser and load your video or image. Processing runs locally on your machine—nothing uploads to a remote server, and no account is required.
- Click the VHS preset chip to instantly map scanlines, tape noise, and color fringing to your media.
- Refine the look using the 0-100 adjustment knobs, and adjust the timeline effect boxes with fade handles to control where and how smoothly the tape damage applies.
- Click Export to render an MP4 video file (or Save Frame for a PNG still), then drop the rendered asset directly onto your Adobe Premiere timeline.
This workflow delivers classic analog artifacts without slowing down playback or requiring third-party plugin licenses inside your Premiere workspace.
The exact settings
Start from the VHS preset, then set:
| Strength (master) | 46 |
| Glitch Rate | 18 |
| Glitch Width | 24 |
| Block Size | 40 |
| Chaos | 34 |
| Datamosh (trail) | 14 |
| Horizontal Wave | 44 |
| Vertical Wave | 20 |
| Vertical Shift | 10 |
| Vertical Shake | 12 |
| RGB Split | 46 |
| Hue Shift | 7 |
| Sepia | 12 |
| Noise | 30 |
| Scanlines | 56 |
| Flicker | 16 |
Everything else stays at its default — tweak it, then copy your own look as JSON or a link from inside the editor to share it.
Try it now — add this look to your own clip, free and in your browser.
Open the editor →FAQ
Can I create a realistic VHS effect in Adobe Premiere Pro without plugins?
Yes, you can stack native Premiere Pro effects like Wave Warp, Channel Blur, Noise, and Lumetri Color across duplicate layers, though setting it up manually takes extra time.
How does the Glitchest browser shortcut export video without rendering delays?
Glitchest uses WebCodecs technology directly in your browser, processing your local media instantly and exporting clean MP4 files without sending your footage to any server.
How do I time VHS tracking glitches precisely in Glitchest?
Drag an effect box onto a timeline lane over your clip, adjust its duration and fade handles, and drop short boxes over specific frames for sudden VCR tracking spikes.
How do I create a VHS effect in Premiere Pro?
You can build a VHS effect in Premiere Pro by splitting RGB channels with color balance effects, adding noise, and layering scanline or static overlays using blending modes. Alternatively, you can apply authentic VHS distortion instantly without manual timeline setups using the free Glitchest editor at /app/.
What is the easiest way to make a VHS effect in the latest version of Premiere Pro?
In modern Premiere Pro versions, you can combine Lumetri Color adjustments, Wave Warp, and Gaussian Blur with retro overlays to simulate analog tape. If you prefer a faster workflow, Glitchest lets you add real-time VHS, glitch, and tracking distortion directly in your browser.
Do I need a plugin to get a VHS look in Adobe Premiere?
While third-party plugins like Red Giant Universe provide dedicated VHS presets, you can create the look natively using Premiere's built-in effects. If you want plugin-style results without installing paid software, Glitchest offers a free, no-install browser editor that runs locally on your device.