Chromatic Aberration in Premiere Pro (+ Free Browser Shortcut)
If you want to be sure chromatic aberration sharpens the aesthetic of your project rather than muddying fine details, dialing in the proper color separation is vital. That iconic red-and-cyan fringe seen on vintage glass, CRT screens, and futuristic UI designs adds tactile texture to modern footage. Whether you manually split channels in Premiere Pro or use Glitchest for an instant browser workflow, balanced displacement makes all the difference.
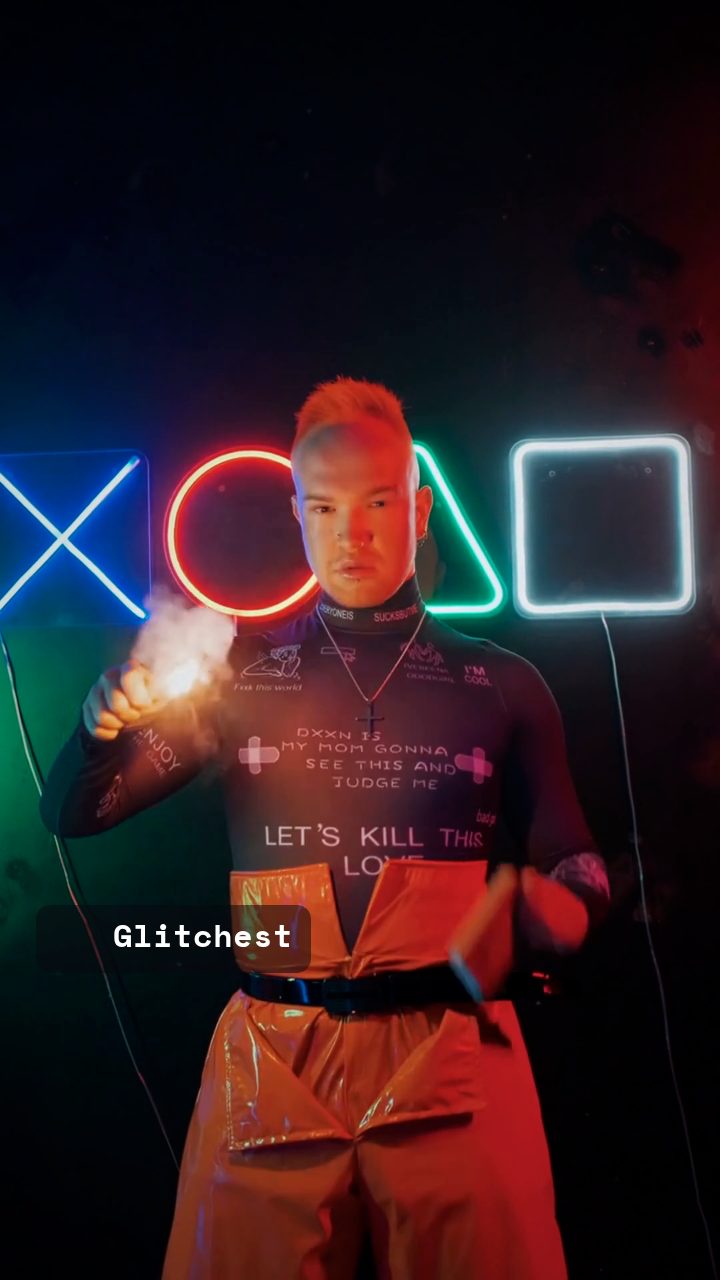 BEFORE
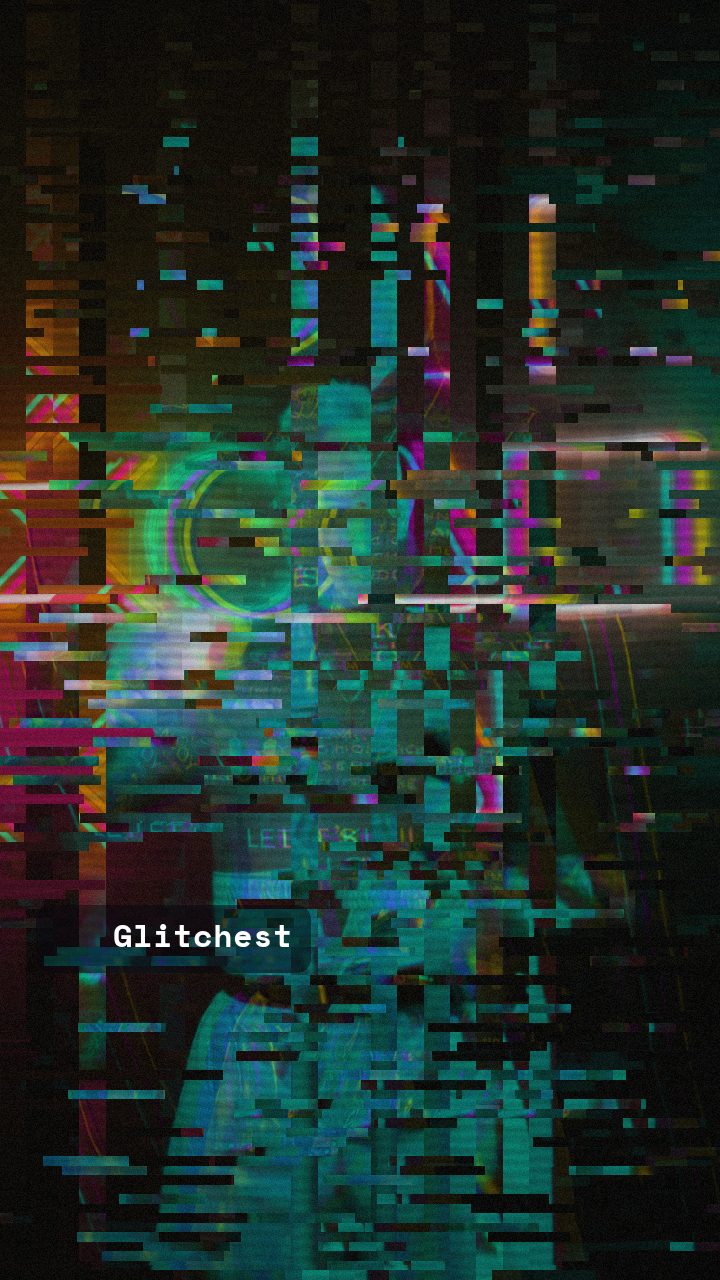 AFTER
AFTERHow to Make Chromatic Aberration in Premiere Pro
Adobe Premiere Pro provides multiple native workflows to achieve a chromatic aberration effect, ranging from traditional multi-layer compositing to automated VR distortion effects.
Method 1: The Three-Layer RGB Split Technique
The classic native technique in Premiere Pro relies on duplicating your video clip so you can shift isolated color channels independently across stacked video tracks:
- Duplicate your video clip across three vertical tracks (V1, V2, V3).
- Select the clip on V1 and apply the Color Balance (RGB) effect. Set Green and Blue to 0, leaving Red at 100%.
- Select V2, apply Color Balance (RGB), and set Red and Blue to 0 while keeping Green at 100%.
- Select V3, apply Color Balance (RGB), and set Red and Green to 0 while keeping Blue at 100%.
- Change the Blending Mode of V2 and V3 to Screen in the Effect Controls panel. The three tracks will combine back into a full-color image.
- Nudge the Position or Scale controls of the top and bottom tracks by a few pixels. Offsetting X or Y coordinates exposes the separated color channels along high-contrast edges.
Method 2: Built-In Immersive Effects
If you prefer a single-layer approach, Premiere Pro includes the VR Digital Glitch effect (under Immersive Video). By placing this effect on an adjustment layer and lowering the distortion and noise sliders while keeping color offset active, you can generate clean channel shifts directly over your clip.
Premiere Pro is an industry-standard editor offering precise keyframe control. However, when you need to make quick social media exports, test multiple channel split styles on the fly, or avoid stacking heavy multi-track adjustment layers, open-and-render tools offer a much faster path.
The Free Browser Shortcut: Fast RGB Channel Separation
When speed is key, you can skip project setup entirely and jump straight into the editor. Because Glitchest processes video using WebCodecs directly inside your web browser, your video and image files are rendered locally on your device without ever being uploaded to an external server. You get instantaneous previews, full privacy, and fast exports.
Styling Chromatic Aberration with the Cyber Glitch Preset
In Glitchest, the optimal starting point for chromatic color separation is the Cyber Glitch preset. This preset is designed to push optical channels apart while keeping contrast edges sharp and defined.
Fine-Tuning Your Chromatic Look
After selecting Cyber Glitch, you can fine-tune the color separation using a few intuitive sliders:
- RGB Split: This control acts as your primary chromatic driver. Increasing it widens the gap between red, cyan, blue, and yellow channels. Lower values recreate subtle camera lens fringing, while higher settings produce wide futuristic double-vision looks.
- Hue Shift: Rotating the hue slider changes the primary spectrum separation, letting you shift from classic red/cyan offsets to vibrant purple, green, or gold highlights.
- Glitch Width & Wave Controls: For clean optical distortion, lower the wave and width controls to keep your underlying picture geometric. If you want an unstable digital feed, leave them elevated to create horizontal edge tearing along the color splits.
- Noise & Scanlines: Adding a touch of electronic noise or thin CRT scanlines anchors the color fringing into a cohesive retro signal.
For more inspiration on combining channel splits with bright aesthetics, read our cyberpunk neon glitch look recipe or check out our guide to online RGB split channel-shift editing.
Step-by-Step Guide: Chromatic Aberration in Glitchest
- Import Your File: Open the editor in your browser and drop your MP4 video or PNG image onto the workspace.
- Select Cyber Glitch: Choose the Cyber Glitch preset to immediately activate channel splitting across high-contrast edges.
- Dial In Channel Distance: Adjust the RGB Split slider until the optical bleed fits your scene. Keep it low for a realistic lens look, or push it further for stylized music video visuals.
- Animate with Effect Boxes: To make the aberration pop rhythmically, drop an effect box onto an overlay lane on the timeline. Place short boxes on key beats for fast chromatic flashes, and adjust the built-in fade-in and fade-out handles to smoothly melt the effect in and out.
- Export: Click Export MP4 to render your full video, or click Save Frame to snap an uncompressed PNG image.
How to Make Sure Chromatic Aberration Enhances Your Cut
Overdoing color fringing quickly turns a deliberate stylistic choice into unreadable mush. To make sure chromatic aberration looks authentic rather than accidental, keep the channel displacement subtle and concentrate the split along high-contrast edges where physical camera lenses naturally bend light unevenly.
You can dial in this balance immediately in the Glitchest browser editor without setting up multi-track matte keys or waiting on render queues. Because the tool runs locally in your browser, your media stays entirely private and nothing uploads to an external server:
- Select your clip and click the Chromatic Aberration preset chip to apply the baseline split.
- Fine-tune the color displacement using the 0-100 knobs to keep the color fringing tight against hard silhouettes.
- Drag the timeline effect box fade handles to ease the aberration in during quick pans, impacts, or title card entrances.
When you are satisfied with the alignment, click Save Frame to grab a PNG still, or hit Export to render an MP4 video directly back to your device.
The exact settings
Start from the Cyber Glitch preset, then set:
| Strength (master) | 52 |
| Glitch Rate | 42 |
| Glitch Width | 48 |
| Block Size | 40 |
| Chaos | 42 |
| Datamosh (trail) | 16 |
| Horizontal Wave | 26 |
| Vertical Wave | 14 |
| Vertical Shift | 30 |
| Vertical Shake | 12 |
| RGB Split | 72 |
| Hue Shift | 48 |
| Noise | 20 |
| Scanlines | 30 |
| Flicker | 14 |
Everything else stays at its default — tweak it, then copy your own look as JSON or a link from inside the editor to share it.
Try it now — add this look to your own clip, free and in your browser.
Open the editor →FAQ
How do you make chromatic aberration in Premiere Pro natively?
You duplicate your video track into three layers, isolate Red, Green, and Blue channels on each layer using the Color Balance (RGB) effect, set blending modes to Screen, and offset their position parameters.
What makes the Cyber Glitch preset ideal for chromatic aberration in Glitchest?
The Cyber Glitch preset pairs dedicated RGB split channel shifts with subtle wave displacement, driving distinct color separation without requiring manual layer stacking or channel isolation.
How do I animate chromatic aberration bursts in Glitchest without timeline curves?
Instead of plotting keyframe curves, drag an effect box onto a timeline lane, shorten its duration for quick color fringes, and adjust the built-in fade-in and fade-out handles.
How do you create chromatic aberration in Adobe Premiere Pro?
In Premiere Pro, you can create chromatic aberration by duplicating your clip across three tracks, applying the Color Balance (RGB) effect to isolate individual color channels, and slightly offsetting their position or scale. You can also skip manual channel splitting entirely by applying instant RGB shift effects in your browser with Glitchest at /app/.
Is there a built-in chromatic aberration effect in Premiere Pro?
Premiere Pro does not include a dedicated one-click chromatic aberration tool, so editors typically use the VR Digital Glitch effect or manual RGB channel splitting. If you want a faster workflow without manual track management or third-party plugin installs, Glitchest provides a free, instant browser-based alternative.
What is the fastest way to apply a chromatic aberration effect to Premiere Pro footage?
The fastest built-in method in Premiere Pro is applying the VR Digital Glitch effect and adjusting the color distortion settings. For an even quicker result with real-time controls, you can process your clips directly in the Glitchest web editor at /app/ with no account or upload required.