Fix Muddy Datamosh Trails & Warp Blur Glitches
When you try to combine datamosh smearing with rapid motion blur to create a high-speed hyperspace melt, the result often collapses into a muddy, desaturated mess of frozen pixels rather than a glowing, cohesive warp trail.
 BEFORE
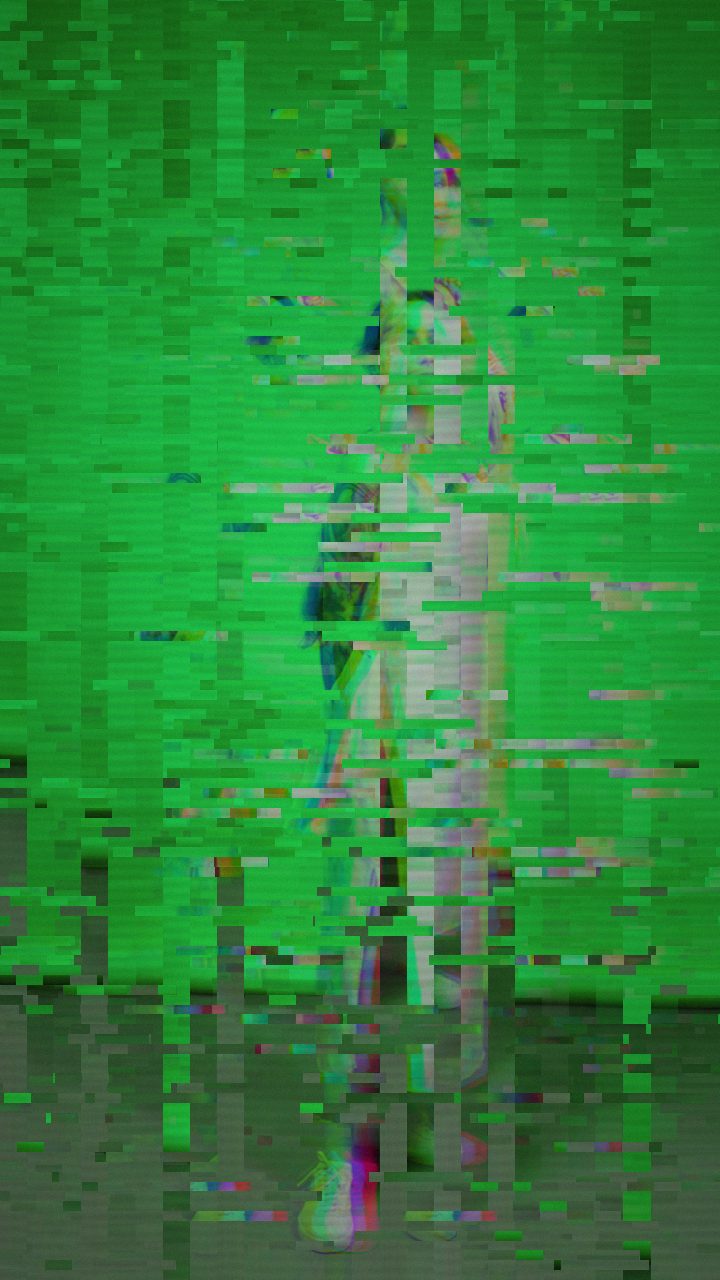 AFTER
AFTERThe Core Problem: Why Warp Datamoshing Looks Muddy
Traditional video datamoshing relies on removing I-frames so moving pixels drag across the next shot. However, attempting to stack a high-speed warp blur or bloom over standard compression artifacts often flattens contrast entirely. When every pixel tries to melt in every direction at once, fine detail vanishes, leaving you with static gray sludge instead of an explosive, melting velocity line.
To achieve that hyper-stylized warp-speed bloom, you need three distinct elements working in harmony: directional pixel tearing to simulate forward momentum, channel separation to preserve luminous highlights, and controlled persistence so the trail dissolves rather than accumulating endlessly into a visual freeze.
The Solution: Dialing the Datamosh Preset
Instead of manually stacking third-party distortion layers, start by loading the Datamosh preset inside the editor. This preset establishes the exact digital persistence and chromatic tension needed for continuous pixel dragging without corrupting the entire video stream beyond recognition.
To transform the standard digital glitch into a forward-surging, melting bloom, focus your adjustments on a few specific parameters:
- Datamosh (Trail): Keep this dialed in moderately. If the value is pushed too high, old frames never clear, turning your warp streak into a permanent freeze-frame. If it is too low, the smear snaps back instantly before forming a trail.
- RGB Split: Push this parameter higher to separate the color channels along the warp vector. This prevents the melting edges from turning gray by fringing the smear with vibrant red, green, and cyan highlights.
- Vertical Shift & Vertical Shake: Balance these to simulate the violent shudder of entering warp speed. Vertical displacement causes the smearing pixels to cascade across the frame rhythmically rather than clumping in static blocks.
- Chaos & Glitch Rate: Keep Chaos balanced so the distortion flows linearly along the motion path rather than scattering into random digital confetti.
- Flicker & Scanlines: Add subtle amounts of each to give the light trails an illuminated, tube-driven bloom texture.
If you want to dive deeper into the mechanics of compression artifacts before adjusting, check out our guide on what datamosh actually is.
Step-by-Step: Crafting the Melt Effect on the Timeline
- Load your media: Open Glitchest in any modern browser and drop in your video or image. Processing happens entirely on your machine with zero server uploads.
- Select the Datamosh preset: Click the Datamosh preset button in the sidebar to populate the foundational warp-trail baseline.
- Refine the motion parameters: Nudge RGB Split upward to enhance the neon chromatic fringes, balance the Datamosh trail slider to maintain momentum without freezing, and tune Vertical Shift to direct the melting flow.
- Place and layer effect boxes: In the timeline below your footage, drag an effect box directly over the moment where the warp burst should occur. To prevent the distortion from jarring the viewer, set the fade-in handle to ramp into the melt smoothly as movement accelerates.
- Layer a hard hit (Optional): Place a second, narrower effect box on another lane right at the peak of the motion or beat drop with elevated master Strength to deliver a sharp flash of maximum displacement.
- Export: Render an MP4 directly via high-speed WebCodecs, or click Save Frame to pull a pristine PNG still of your melting hyperspace frame.
Refining the Bloom with Masks
If your central focal point gets lost in the melting trail, activate the Ellipse or Rectangle masking tool in the effect panel. Positioning a feathered mask over the center of the frame preserves the subject's crisp details while allowing the surrounding background to stretch, smear, and liquefy into an authentic warp-speed bloom.
The exact settings
Start from the Datamosh preset, then set:
| Strength (master) | 52 |
| Glitch Rate | 42 |
| Glitch Width | 48 |
| Block Size | 42 |
| Chaos | 42 |
| Datamosh (trail) | 28 |
| Horizontal Wave | 14 |
| Vertical Wave | 10 |
| Vertical Shift | 30 |
| Vertical Shake | 18 |
| RGB Split | 54 |
| Hue Shift | 26 |
| Noise | 10 |
| Scanlines | 15 |
| Flicker | 12 |
Everything else stays at its default — tweak it, then copy your own look as JSON or a link from inside the editor to share it.
Try it now — add this look to your own clip, free and in your browser.
Open the editor →FAQ
Why does my datamosh trail turn into an unreadable gray smear instead of a clean warp?
A muddy smear usually happens when the Datamosh trail is maxed out without enough structural displacement to carry motion; increasing RGB Split and vertical waves helps define edges while keeping the melting momentum.
How do I keep the warp bloom effect from blowing out my core subject?
Drop an effect box onto your clip timeline, adjust its fade-in and fade-out handles so the bloom only peaks during camera motion or beat drops, and lower master Strength slightly if highlights clip.
Can I isolate the melting warp effect to just the edges of the frame?
Yes, enable the Ellipse mask in the editor, invert it or position it over the subject, and the warp-speed distortion will only smear the surrounding background.