Fix Soft Glitches: Vertical Shake & Block Signal Tear
If your glitch transition feels like a gentle digital filter rather than a violent hardware failure, you are likely missing the interplay between a vertical frame snap and short-burst horizontal block displacement. A true signal-tear jolt should hit the viewer like a loose cable or a desynced cathode ray tube.
 BEFORE
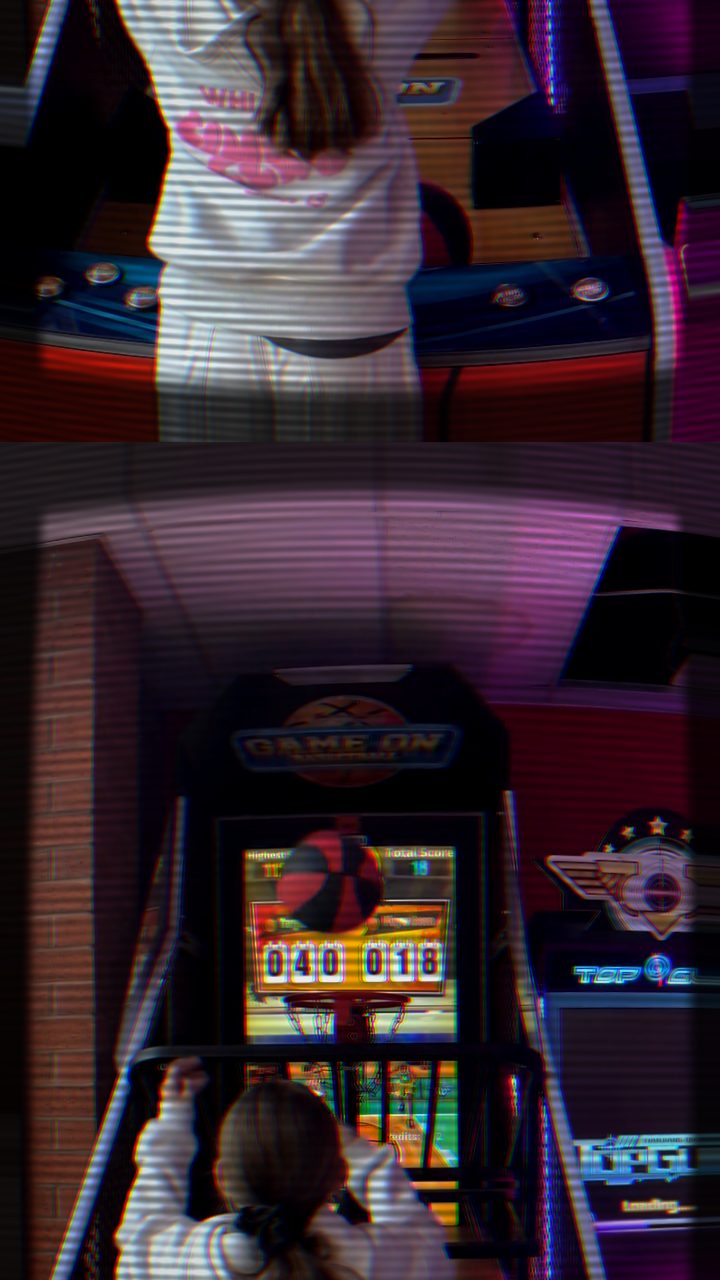 AFTER
AFTERThe Problem: Why Most Signal Tears Feel Weak
Most editors attempt to build a dramatic glitch impact by cranking chromatic aberration and hoping the colors alone sell the hit. The result is often muddy: the clip stays perfectly stable on its vertical axis while colors swim loosely across the frame. Without sudden vertical dislocation, the brain registers the effect as a stylized overlay rather than an electrical fault.
Hardware signal tears happen when a display loses vertical synchronization (V-Sync) while horizontal data packets drop simultaneously. To reproduce this violent interruption, you need three distinct mechanical failures happening simultaneously across a fraction of a second: a sharp vertical roll, broken scanline horizontal displacement, and high-contrast beam bloom.
The Base: Starting with the CRT TV Preset
Rather than dialling every baseline analog artifact from zero, start inside the editor with the CRT TV preset. This preset instantly lays down the structural geometry of a physical monitor—giving your frame the electron beam flicker, scanline structure, and tube glow required to make digital corruption look organic.
While CRT TV provides the underlying raster physics, turning it into an aggressive jolt requires targeted adjustments:
- Vertical Roll (TV): This is the anchor of the jolt. Increasing this setting forces the display frame to lose vertical sync and jump rapidly off its center axis.
- Flicker: Nudging the flicker control upward introduces instantaneous exposure drops that simulate intermittent power loss across the signal path.
- CRT Curve + Glow: Keeping this elevated ensures the bright edges of your glitch blocks bloom aggressively outward against the dark scanlines.
For more nuanced control over tear geometry alongside roll parameters, check out our guide on how to pair vertical shift and glitch width for torn scans.
Step-by-Step: Assembling the Signal-Tear Impact
Because Glitchest uses an effect-box timeline rather than abstract curve graphs, creating an abrupt visual jolt is entirely about box placement, duration, and lane layering.
- Load Your Footage: Drag your video or image into Glitchest. Everything processes locally via WebCodecs with no upload delays or cloud compression.
- Apply the CRT TV Preset: Select CRT TV from the preset menu to establish your baseline raster distortion and beam curvature.
- Create a Short Effect Box: Drag an effect box onto the timeline directly over the impact frame (such as a beat drop, cut, or sudden action beat). Keep the box extremely narrow—between 2 and 6 frames long.
- Remove Box Fades: Set both the fade-in and fade-out handles on that effect box to zero. A gradual ramp-up ruins the illusion of a sudden electrical snap; the hit must appear and disappear instantly.
- Stack a Glitch Block Layer: On a second lane directly parallel to your CRT box, place an identical short effect box focused on horizontal block tearing and channel displacement. Layering these two separate boxes on independent lanes blends the mechanical vertical rolling with high-frequency digital block corruption.
- Review and Export: Scrub through the timeline to verify the sudden snap. Once satisfied, hit export to render an MP4 or use Save Frame for high-resolution PNG stills.
Fixing Common Signal Tear Mistakes
The Glitch Lingers Too Long
A violent tear loses its punch if the viewer has time to inspect the artifact. If your glitch feels sluggish, shorten the effect box on the timeline lane. True signal interrupts should shock the viewer across a split second before snapping back to clear footage or cutting to the next scene.
The Frame Looks Washed Out
When stacking heavy flicker and phosphor glow, dark areas can lift into a murky gray. Counter this by nudging the Contrast slider up within your active effect box. Keeping deep blacks intact gives the bright, tearing scanlines the edge contrast they need to pop off the screen.
The Jolt Disrupts the Whole Scene Indiscriminately
If you want the signal tear concentrated on a specific area—like a subject's face or an on-screen graphic—use rectangle or ellipse masking directly on the effect layer. This restricts the vertical tearing to a localized bounding box while the surrounding video stays untouched.
The exact settings
Start from the CRT TV preset, then set:
| RGB Split | 18 |
| Brightness | 53 |
| Contrast | 58 |
| Scanlines | 40 |
| Flicker | 10 |
| CRT Curve + Glow | 74 |
| Vertical Roll (TV) | 6 |
Everything else stays at its default — tweak it, then copy your own look as JSON or a link from inside the editor to share it.
Try it now — add this look to your own clip, free and in your browser.
Open the editor →FAQ
Why does my glitch effect look like a slow wave instead of an impactful jolt?
When glitch effects stay active across entire clips or carry soft fade times, the eye perceives them as a filter rather than a sudden hardware malfunction. Snapping the duration down to just a few frames with zero fade-in produces an instant, sharp impact.
Can I isolate the vertical jolt to only part of the screen?
Yes, you can apply rectangle or ellipse masking to the effect layer so that the torn scanline distortion and chromatic dislocation only rip across a specific subject or title card.
Why is the CRT TV preset the best foundation for a violent signal tear?
The CRT TV preset introduces calibrated scanlines, electron gun flicker, and vertical roll mechanics that give digital glitch blocks the physical raster foundation needed to look authentically unstable.