How to Add a VHS Camcorder Overlay (Fix Common Glitches)
Adding a vintage camcorder aesthetic to modern digital video sounds straightforward, but stock video overlays and generic filters often leave footage looking artificially pixelated, overly washed out, or completely unconvincing. When your tape artifacts don't look grounded in physical media, troubleshooting specific texture layers makes all the difference.
 BEFORE
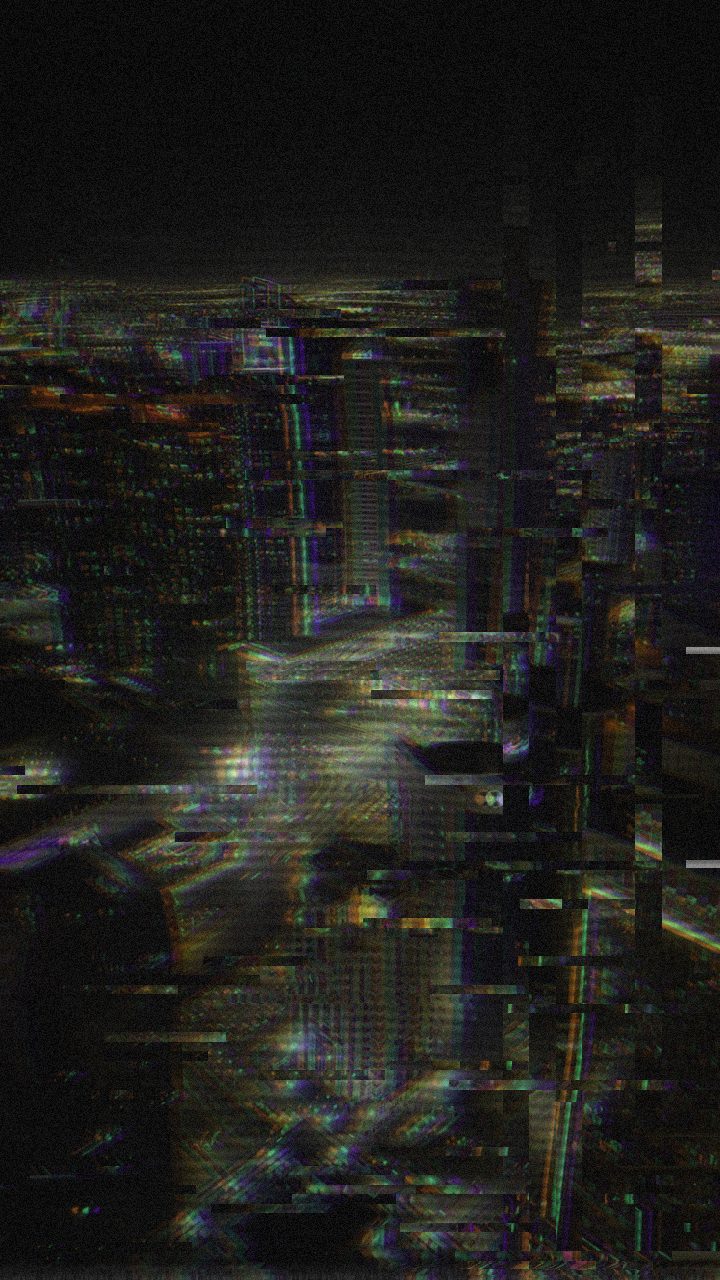 AFTER
AFTERThe Core Problems with Most Camcorder Overlays
When editors attempt to apply an authentic camcorder vibe, they typically run into three major roadblocks:
- Artificial Digital Artifacts: Using generic pixel-sorting or compression noise produces square blocks that look like corrupted internet streaming rather than magnetic tape head noise.
- Uncontrolled Color Smearing: Excessive color separation turns the entire screen into an unreadable red-and-cyan 3D headache rather than subtle analog chroma bleed.
- Static Glitch Loops: Looping an MP4 overlay with hardcoded timestamps or tracking glitches creates a repetitive pattern that breaks the illusion instantly.
Real camcorder tape distress is driven by physical inconsistencies: tracking misalignment, mild horizontal phase sync errors, subtle luminance noise, and phosphor scanlines. Addressing each artifact individually in the editor turns an artificial overlay into believable magnetic tape footage.
How to Dial in an Authentic Camcorder Look
Instead of stacking random blend modes or searching for transparent assets, you can construct a clean analog foundation using dedicated parameters in real time directly in your browser.
- Import Your Media: Drag your video or image file straight into the Glitchest canvas. Because files process locally via your browser's hardware acceleration, nothing is uploaded to an external server.
- Select the VHS Preset: Open the preset drawer and select VHS. This preset establishes the baseline tape physics—balancing scanline frequency, analog noise, subtle chromatic fringing, and wave distortion.
- Tame the Tracking Sync: If the frame is shaking uncontrollably, reduce Vertical Shake and Vertical Shift. Real camcorders only slip their vertical hold when the tape is physically damaged or tracking fails entirely.
- Balance Chromatic Separation: Analog tape formats like VHS encode color at a much lower bandwidth than luminance, causing subtle color fringing. Keep RGB Split moderate so high-contrast edges show light color drift without blurring the entire subject.
- Adjust the Organic Grain: Real magnetic tape exhibits continuous grain rather than static grid patterns. Fine-tune Noise and Scanlines to simulate CRT phosphor lines and low-light sensor noise.
- Age the Color Palette: Nudge the Sepia dial or use the integrated Time Machine control to mimic the warmer, slightly compressed dynamic range of late-80s and 90s camcorder sensors.
Troubleshooting Timing with Effect Boxes
A frequent giveaway of poorly applied overlays is constant, uninterrupted high-intensity degradation. A camcorder recording is mostly steady, interspersed with occasional tracking slips, tape head jumps, or transport glitches during movement.
You can isolate these moments using Glitchest's effect-box timeline. Rather than keeping a heavy effect active over the entire clip:
- Create a Steady Base: Place a continuous effect box along the bottom lane using the subtle VHS preset settings to handle underlying scanlines, light noise, and mild chromatic drift.
- Punch in Tracking Jumps: Drop a very short effect box onto an upper lane at the exact frame where your camera pans or a sudden motion occurs. Increase Horizontal Wave and Chaos inside that isolated box to simulate the playback head losing track of the tape strip.
- Shape the Impact: Set short fade-in and fade-out handles on the box so the tracking error snaps into the frame and recovers naturally. If you want to dive deeper into timing transitions, check out our guide on how to make a glitch transition.
Refining Edge Clarity and Masking
If your footage features text, interface graphics, or specific focal points that get lost behind heavy tape interference, you do not have to degrade the entire frame equally. Using the built-in rectangle or ellipse masking tool, you can confine harsh scan jitter or heavy distortion to the edges of the video—simulating worn tape margins while keeping center subjects readable.
For projects requiring complex analog distortion or composite video corruption, you can also explore techniques covered in our overview of analog horror video effects. Once your camcorder treatment looks authentic, render an MP4 instantly using native WebCodecs or export uncompressed stills via Save Frame.
The exact settings
Start from the VHS preset, then set:
| Strength (master) | 46 |
| Glitch Rate | 18 |
| Glitch Width | 24 |
| Block Size | 40 |
| Chaos | 34 |
| Datamosh (trail) | 14 |
| Horizontal Wave | 44 |
| Vertical Wave | 20 |
| Vertical Shift | 10 |
| Vertical Shake | 12 |
| RGB Split | 46 |
| Hue Shift | 7 |
| Sepia | 12 |
| Noise | 30 |
| Scanlines | 56 |
| Flicker | 16 |
Everything else stays at its default — tweak it, then copy your own look as JSON or a link from inside the editor to share it.
Try it now — add this look to your own clip, free and in your browser.
Open the editor →FAQ
Why does my VHS camcorder overlay look digital instead of analog?
Digital looks usually happen when block noise or pixelation is too aggressive; dialing back block size while boosting scanlines and horizontal wave restores organic magnetic tape distortion.
How do I make the camcorder tracking glitch hit only at specific moments?
Place short effect boxes on the timeline over the exact frames you want the tape to drop or jitter, applying short fade-in and fade-out values so the glitch hits sharply without lingering.
Will adding a VHS overlay reduce my exported video resolution?
No, Glitchest processes the effect layer at your original video's resolution using client-side WebCodecs, so your final MP4 preserves its crisp base geometry beneath the stylized analog texture.