Pixel Sorting Effect: How to Get the Dripping-Pixel Look
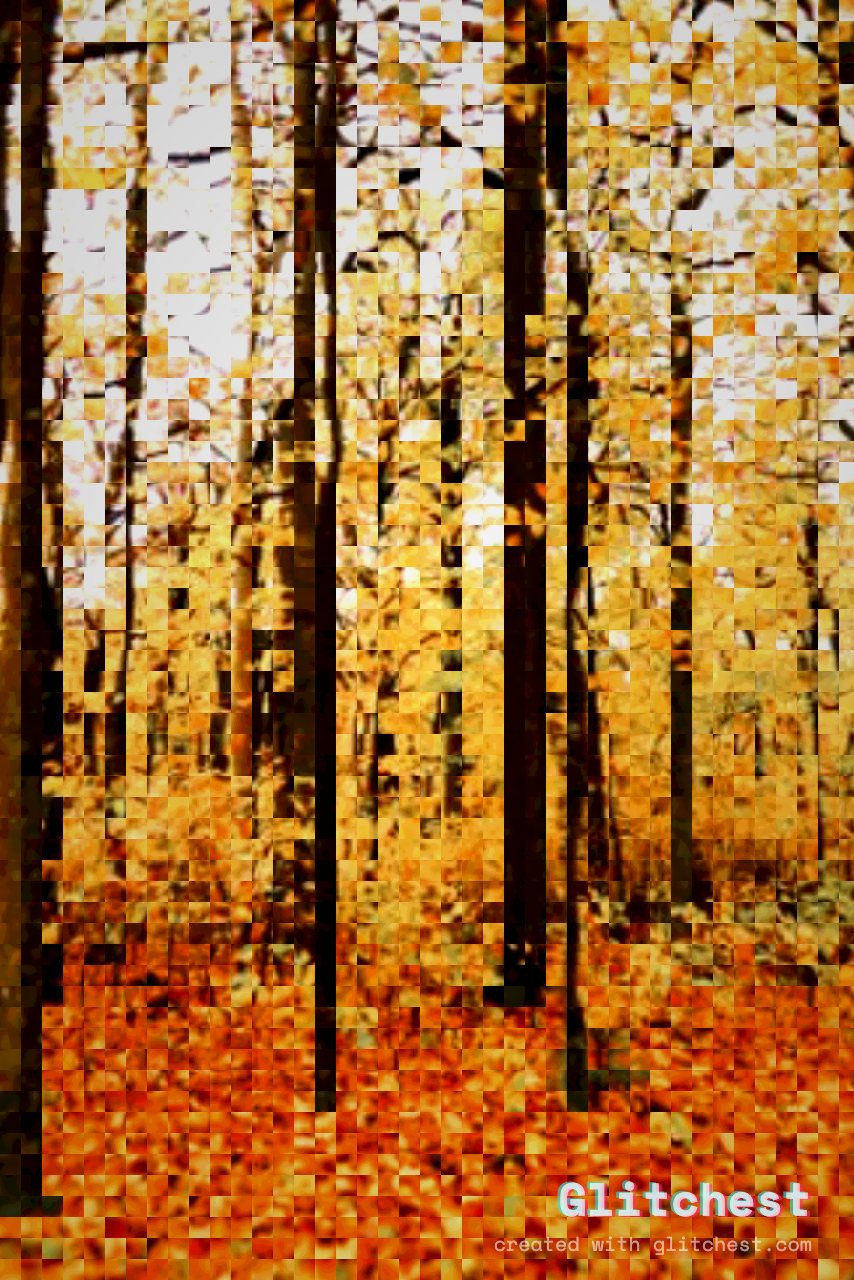
Pixel sorting is the effect behind those long, dripping color streaks you see on album covers and glitch edits — the ones where part of an image looks like it's melting sideways into ribbons. It's simpler than it looks, and you can do it free in your browser with no upload.
What pixel sorting actually is
Instead of scrambling pixels randomly, pixel sorting reorders them. The tool scans a row or column of pixels, picks a range based on a threshold — usually brightness — and sorts the pixels inside that range from dark to light (or light to dark). Everything outside the threshold stays put.
That contrast is the whole trick. Sorted zones smear into smooth gradients while untouched zones keep their detail, so the image looks like it's dripping or streaking out of its own edges. Change the threshold and you change where the smearing starts and stops.
Why the threshold matters
The threshold decides which pixels count as "sortable." A low threshold catches only the darkest (or brightest) pixels, so you get short, subtle streaks. A wider threshold pulls in more of the image, and the streaks stretch further until large areas melt into flat color bands. Most of the character of the effect lives in this one setting.
Where pixel sorting shines
- Abstract visuals — a single frame sorted hard becomes a painterly texture you can use as a background or wallpaper.
- Cover art — sorting a portrait or landscape gives that instantly recognizable glitch-music look.
- Transitions — on video, let the sort build across a few frames so one shot dissolves into streaks before the next appears.
- Accents — a light sort over part of a frame adds motion and grit without wrecking the composition.
How to get the look in Glitchest
Everything runs locally in your browser. Nothing gets uploaded, and there's no account required.
- Open the editor and load your clip or photo. Video and stills both work.
- Apply the pixel sort from the effects list. You'll see streaks appear immediately on the preview.
- Set the threshold. Start narrow and widen it slowly. Watch where the streaks begin — that's the point where pixels cross your brightness cutoff.
- Tune direction and length. Try horizontal versus vertical sorting; each reads very differently. Vertical sorts tend to look like dripping, horizontal like wind.
- Export. Use Export MP4 for video (encoded via WebCodecs) or Save Frame to pull a single PNG still.
A tip for keeping it subtle
Full-frame sorting reads as a strong statement, and it gets tiring fast. For something that still looks intentional, keep the threshold tight so only a slice of the image sorts, or use masking to limit the effect to one region — a face, a horizon line, a corner. The untouched parts give the eye somewhere to rest and make the sorted streaks feel deliberate rather than like a rendering error.
On video, an effect box with a fade-in and fade-out lets the threshold build up and back down, so a shot eases into streaks and then resolves. Pairing that with the Time Machine dial gives you a quick way to scrub the intensity while you decide how far to push it.
Stacking it with other effects
Pixel sorting plays well with a light color split. A touch of chromatic aberration on top of a sort adds that fringed, off-register edge, and a general glitch pass can tie the streaks into a broader corrupted look. Add these gently — sorting is already a loud effect, so a small amount of everything else usually beats a lot.
Start with one preset, move the threshold until the streaks land where you want them, then export. Because it's all in-browser, you can iterate as many times as you like without uploading a thing.
Try it now — add this look to your own clip, free and in your browser.
Open the editor →FAQ
What is pixel sorting?
Reordering pixels along a brightness threshold so colors smear into dripping, painterly streaks.
Is pixel sorting free in Glitchest?
Yes — the pixel-sort effect and its threshold and direction controls are free to use and export, with no account.
Video and photos?
Both — export an MP4 or a PNG still.